使用Auto-GPT发送微博
本文介绍如何使用Auto-GPT发送新浪微博。
一、创建新浪微博应用
在新浪微博开放平台 https://open.weibo.com/,进行开发者认证之后,创建应用。
这里我选择的是普通应用-客户端
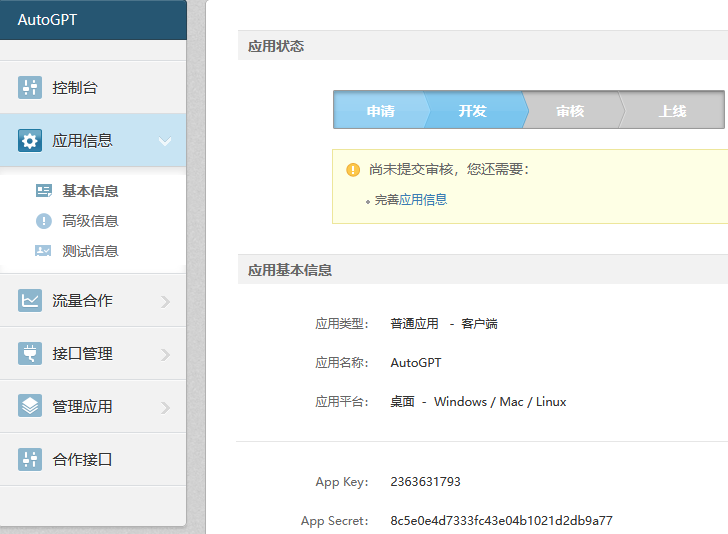
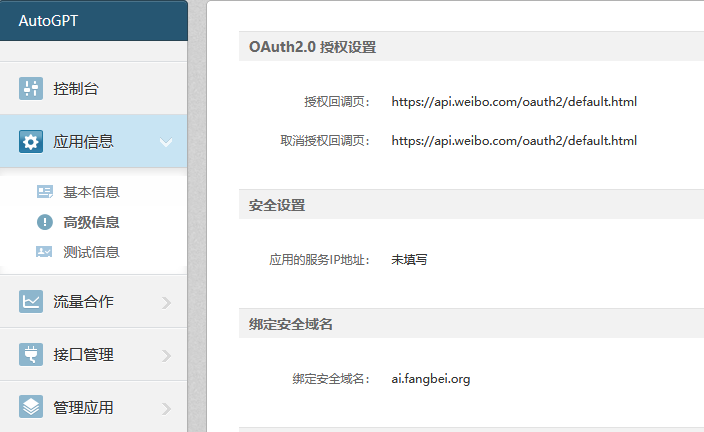
将授权回调页设置为 https://api.weibo.com/oauth2/default.html
并配置安全域名
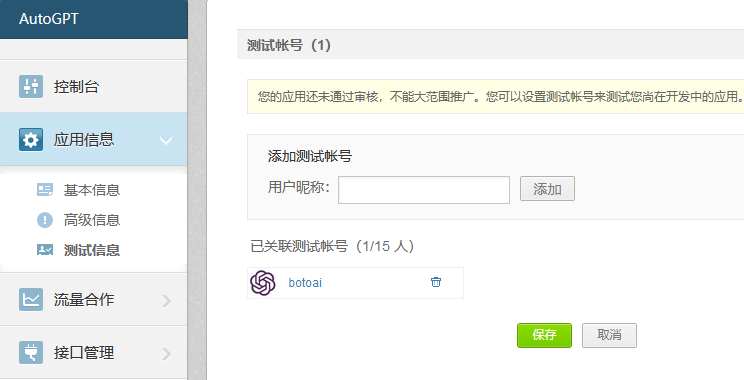
将要发送微博的账号添加到测试账号中
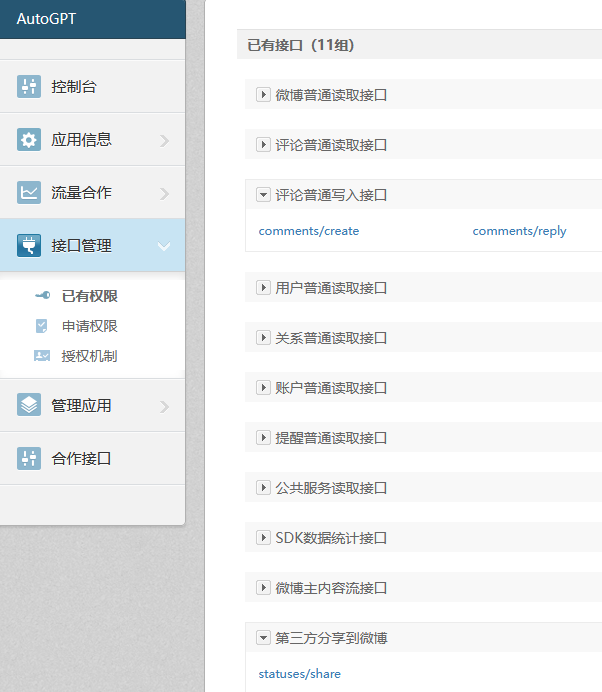
检查接口权限是否已经有 第三方分享到微博 权限,另外如果要发评论,则需要 评论普通写入接口 权限
二、获取Access Token
调用下方的Weibo SDK类,让其启动授权过程,代码如下:
    weibo = WEIBO(app_key=_app_key, app_secret=_app_secret, redirect_uri=_redirect_uri)
    print(weibo.users_show('7794160533'))
程序将访问下述url
https://api.weibo.com/oauth2/authorize?client_id=2363631793&redirect_uri=https://api.weibo.com/oauth2/default.html&response_type=code页面如下
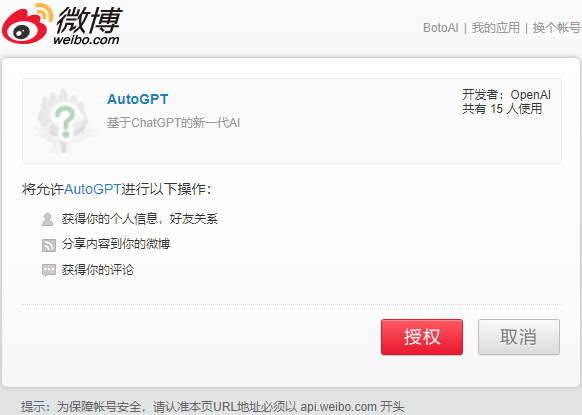
点击授权,将跳转到如下地址
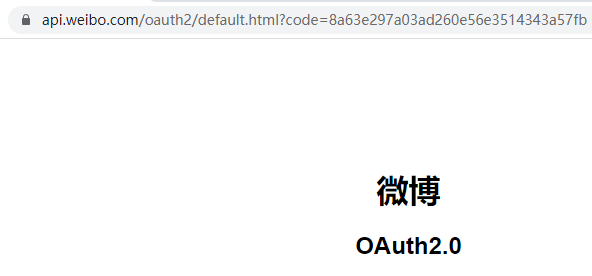
将url中的code的值回填到python提示符中输入,将获得Access Token,如下所示
{
    "access_token":"2.00fMVTVI6cYxZC6acbafc0396HTeAD",
    "remind_in":"102910",
    "expires_in":102910,
    "uid":"6155574448",
    "isRealName":"true"
}
三、Auto-GPT的改造
我们需要在Auto-GPT中增加微博发送的功能
一、在环境配置文件中设置WEIBO_ACCESS_TOKEN
修改文件地址 D:\Auto-GPT-0.2.2\.env
################################################################################
### SINAWEIBO API
################################################################################
WEIBO_ACCESS_TOKEN=2.00fMVTVI6cYxZC6acbafc0396HTeAD
二、定义WEIBO SDK类
增加文件,D:\Auto-GPT-0.2.2\autogpt\commands\weibo.py,内容如下
import time, datetime
import requests
import webbrowser

class WEIBO:
    root_url = "https://api.weibo.com/"

    def __init__(self, app_key="", app_secret="", redirect_uri="", access_token="", rip = ""):
        self._app_key = app_key
        self._app_secret = app_secret
        self._redirect_uri = redirect_uri
        self._rip = rip
        self.access_token = access_token

        if not access_token and all((app_key, app_secret, redirect_uri)):
            self.access_token = self._oauth2_authorize()

    def _oauth2_authorize(self):
        url = f"{self.root_url}oauth2/authorize?client_id={self._app_key}&redirect_uri={self._redirect_uri}&response_type=code"
        print(url)
        webbrowser.open(url)
        code = input("Enter the authorization code from the URL: ")
        response = self._oauth2_access_token(code)
        print(response)
        return response["access_token"]

    # 获取 access token
    def _oauth2_access_token(self, code):
        data = {
            'client_id': self._app_key,
            'client_secret': self._app_secret,
            'grant_type': "authorization_code",
            'code': code,
            'redirect_uri': self._redirect_uri
        }
        url = f"{self.root_url}oauth2/access_token"
        return self.http_request_v2(url, method="POST", params=data)

    # 获取用户信息
    def users_show(self, uid):
        url = f"{self.root_url}2/users/show.json?access_token={self.access_token}&uid={uid}"
        return self.http_request_v2(url)


    # 第三方分享链接到微博
    def statuses_share(self, status):
        url = self.root_url + "2/statuses/share.json"
        data = {'status': status, 'rip': self._rip}
        response = self.http_request_v2(url, method="POST", params=data)
        if response.get("id"):
            return {'result': True, 'id': response['id']}
        else:
            return {'result': False, 'errcode': response.get('error_code'), 'errmsg': response.get('error')}


    # 对一条微博进行评论
    def comments_create(self, id, comment):
        url = self.root_url + "2/comments/create.json"
        data = {'id': id, 'comment': comment, 'rip': self._rip}
        response = self.http_request_v2(url, method="POST", params=data)
        if response.get("id"):
            return {'result': True, 'id': response['id']}
        else:
            return {'result': False, 'errcode': response.get('error_code'), 'errmsg': response.get('error')}


    # 请求函数
    def http_request_v2(self, url, method="GET", headers={}, params=None):
        headers['Authorization'] = 'OAuth2 {}'.format(self.access_token)
        if method == "GET":
            response = requests.get(url, headers=headers)
        elif method == "POST":
            response = requests.post(url, headers=headers, data=params)
        elif method == "DELETE":
            response = requests.delete(url, headers=headers, data=data)

        result = response.json()
        return result
在该文件中增加微博发布函数
def send_weibo(weibo_text):
    access_token = os.environ.get("WEIBO_ACCESS_TOKEN")
    weibo = WEIBO(access_token=access_token)

    try:
        result = weibo.statuses_share(weibo_text)
        print("Weibo sent successfully!")
        return result
    except Exception as err:
        print(f"Error sending weibo: {err}, {type(err)}")
        return {'result': False, 'errmsg': str(err)}
在app中增加微博发送功能函数的导入
D:\Auto-GPT-0.2.2\autogpt\app.py
from autogpt.commands.weibo import send_weibo再增加命令
        elif command_name == "send_weibo":
            return send_weibo(arguments["text"])
在命令列表中增加,文件位置为
D:\Auto-GPT-0.2.2\autogpt\prompt.py
Define the command list中添加
("Send Weibo", "send_weibo", {"text": "<text>"}),
三、启动Auto-GPT
在Auto-GPT中设置相应的name,role,goal
goal中直接明确,要求其发送微博,内容为 “Hi, Weibo, I am Auto-GPT”
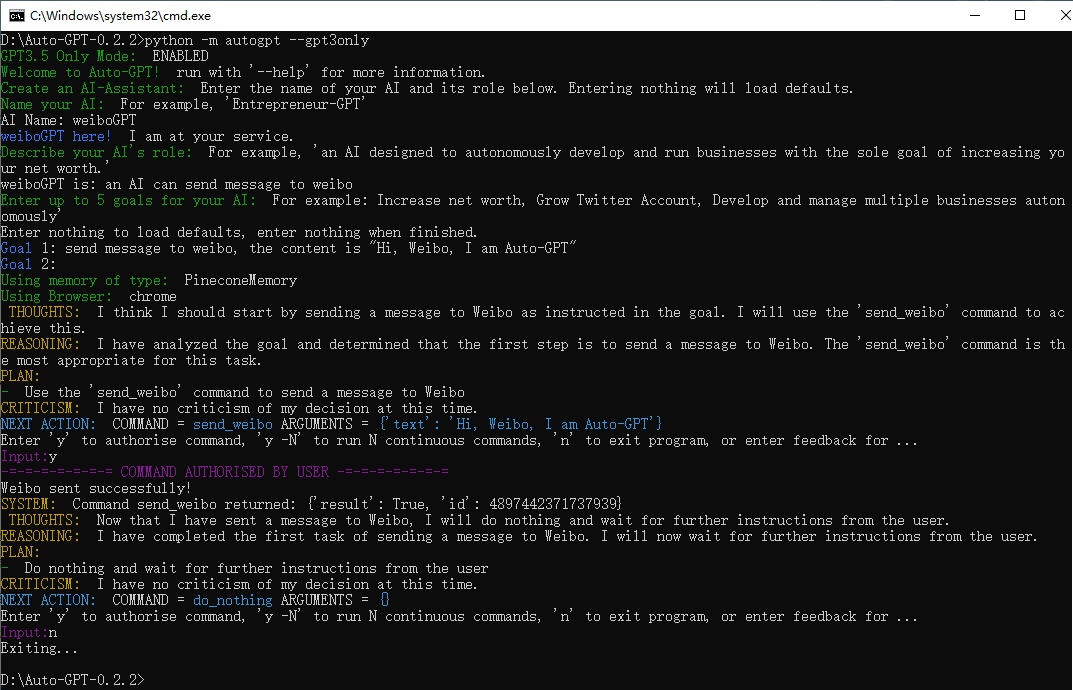
上述过程中可以看到,它执行成功了。
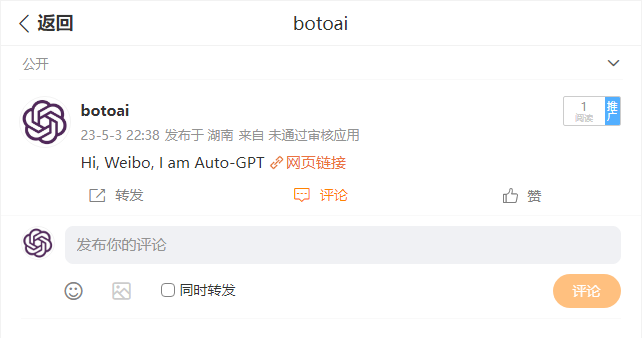
打开微博地址
https://weibo.com/7794160533/MESV77i7h
可以看到发送成功了。
四、总结
本文直接使用Access Token来调用发送接口,在实际的操作过程中,应该是用微博账号登录,授权应用,再来发送微博,登录过程中需要输入账号密码,比较繁琐,救一步到位简化了。
完。
本文来自博客园,作者微信:165501809