python: Screen Recording
用VLC media player播放录屏文件
"""
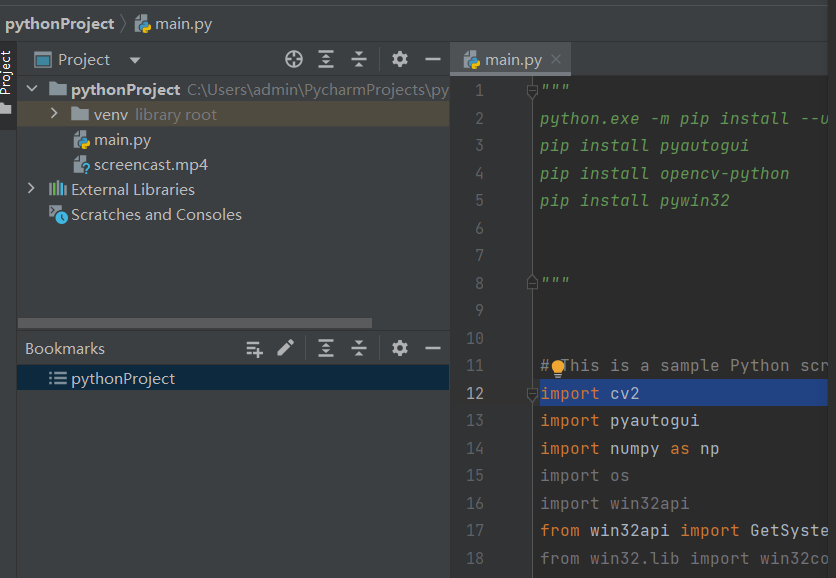
python.exe -m pip install --upgrade pip
pip install pyautogui
pip install opencv-python
pip install pywin32
"""
# encoding: utf-8
# 版权所有 2023 ©涂聚文有限公司
# 许可信息查看:
# 描述: 录屏类
# Author : geovindu,Geovin Du ©涂聚文.
# IDE : PyCharm 2023.1 python 3.11
# Datetime : 2023/8/2 16:11
# User : admin
# Product : PyCharm
# Project : pythonProject
# File : ScreenRecording.py
# explain : 学习
import cv2
import pyautogui
import numpy as np
import os
import win32api
from win32api import GetSystemMetrics
from win32.lib import win32con
import time
class screenRecording(object):
"""
录屏类
"""
def win32screen(self):
# Take resolution from system automatically
w = GetSystemMetrics(0)
h = GetSystemMetrics(1)
SCREEN_SIZE = (w, h)
fourcc = cv2.VideoWriter_fourcc(*"XVID")
out = cv2.VideoWriter("recording.mp4", fourcc, 20.0, (SCREEN_SIZE))
tim = time.time()
tp = int(input('How many times you want to record screen?->(Define value in Seconds): '))
tp = tp + tp
f = tim + tp
while True:
img = pyautogui.screenshot()
frame = np.array(img)
frame = cv2.cvtColor(frame, cv2.COLOR_BGR2RGB)
out.write(frame)
tu = time.time()
if tu > f:
break
cv2.destroyAllWindows()
out.release()
def screen(self,output: str):
"""
:param outputfile:
:return:
"""
# output = "video.avi"
img = pyautogui.screenshot()
img = cv2.cvtColor(np.array(img), cv2.COLOR_RGB2BGR)
# get info from img
height, width, channels = img.shape
# Define the codec and create VideoWriter object
fourcc = cv2.VideoWriter_fourcc(*'mp4v')
out = cv2.VideoWriter(output, fourcc, 20.0, (width, height))
while (True):
try:
img = pyautogui.screenshot()
image = cv2.cvtColor(np.array(img), cv2.COLOR_RGB2BGR)
out.write(image)
StopIteration(0.5)
except KeyboardInterrupt:
break
out.release()
cv2.destroyAllWindows()
def record_screen(self,output_file, fps=30):
"""
:param output_file:
:param fps:
:return:
"""
# 获取屏幕宽度和高度
screen_width, screen_height = pyautogui.size()
# 创建视频编码器
fourcc = cv2.VideoWriter_fourcc(*'mp4v')
out = cv2.VideoWriter(output_file, fourcc, fps, (screen_width, screen_height))
# 设置屏幕录制区域
screen_area = (0, 0, screen_width, screen_height)
while True:
# 捕获屏幕图像
img = pyautogui.screenshot(region=screen_area)
# 转换图像颜色空间
frame = cv2.cvtColor(np.array(img), cv2.COLOR_RGB2BGR)
# 将图像写入视频文件
out.write(frame)
# 按下q键停止录屏
if cv2.waitKey(1) == ord('q'):
break
# 释放资源
out.release()
cv2.destroyAllWindows()
print(f'录制已保存为{output_file}')
def main(self):
"""
:return:
"""
output_file = 'screencast.mp4'
fps = 30
print('按下q键停止录屏')
self.record_screen(output_file, fps)
调用:
    screen=ScreenRecording.screnRecording()
    screen.main()
"""
python.exe -m pip install --upgrade pip
pip install pyautogui
pip install opencv-python
pip install pywin32

python 3.11

"""


# This is a sample Python script.
import cv2
import pyautogui
import numpy as np
import os
import win32api
from win32api import GetSystemMetrics
from win32.lib import win32con


import time

# Press Shift+F10 to execute it or replace it with your code.
# Press Double Shift to search everywhere for classes, files, tool windows, actions, and settings.


def win32screen():
    # Take resolution from system automatically
    w = GetSystemMetrics(0)
    h = GetSystemMetrics(1)
    SCREEN_SIZE = (w, h)
    fourcc = cv2.VideoWriter_fourcc(*"XVID")
    out = cv2.VideoWriter("recording.mp4", fourcc, 20.0, (SCREEN_SIZE))
    tim = time.time()
    tp = int(input('How many times you want to record screen?->(Define value in Seconds): '))
    tp = tp + tp
    f = tim + tp
    while True:
        img = pyautogui.screenshot()
        frame = np.array(img)
        frame = cv2.cvtColor(frame, cv2.COLOR_BGR2RGB)
        out.write(frame)
        tu = time.time()
        if tu > f:
            break
    cv2.destroyAllWindows()
    out.release()


def screen(output:str):
    """

    :param outputfile:
    :return:
    """
    #output = "video.avi"
    img = pyautogui.screenshot()
    img = cv2.cvtColor(np.array(img), cv2.COLOR_RGB2BGR)
    # get info from img
    height, width, channels = img.shape
    # Define the codec and create VideoWriter object
    fourcc = cv2.VideoWriter_fourcc(*'mp4v')
    out = cv2.VideoWriter(output, fourcc, 20.0, (width, height))

    while (True):
        try:
            img = pyautogui.screenshot()
            image = cv2.cvtColor(np.array(img), cv2.COLOR_RGB2BGR)
            out.write(image)
            StopIteration(0.5)
        except KeyboardInterrupt:
            break

    out.release()
    cv2.destroyAllWindows()


def record_screen(output_file, fps=30):
    """

    :param output_file:
    :param fps:
    :return:
    """
    # 获取屏幕宽度和高度
    screen_width, screen_height = pyautogui.size()

    # 创建视频编码器
    fourcc = cv2.VideoWriter_fourcc(*'mp4v')
    out = cv2.VideoWriter(output_file, fourcc, fps, (screen_width, screen_height))

    # 设置屏幕录制区域
    screen_area = (0, 0, screen_width, screen_height)

    while True:
        # 捕获屏幕图像
        img = pyautogui.screenshot(region=screen_area)

        # 转换图像颜色空间
        frame = cv2.cvtColor(np.array(img), cv2.COLOR_RGB2BGR)

        # 将图像写入视频文件
        out.write(frame)

        # 按下q键停止录屏
        if cv2.waitKey(1) == ord('q'):
            break

    # 释放资源
    out.release()
    cv2.destroyAllWindows()
    print(f'录制已保存为{output_file}')


def main():
    """

    :return:
    """
    output_file = 'screencast.mp4'
    fps = 30

    print('按下q键停止录屏')
    record_screen(output_file, fps)


def print_hi(name):
    """

    :param name:
    :return:
    """
    # Use a breakpoint in the code line below to debug your script.
    print(f'Hi, {name}')  # Press Ctrl+F8 to toggle the breakpoint.


# Press the green button in the gutter to run the script.
if __name__ == '__main__':
    print_hi('PyCharm,涂聚文,Geovin Du')
    main()
# See PyCharm help at https://www.jetbrains.com/help/pycharm/
哲学管理(学)人生, 文学艺术生活, 自动(计算机学)物理(学)工作, 生物(学)化学逆境, 历史(学)测绘(学)时间, 经济(学)数学金钱(理财), 心理(学)医学情绪, 诗词美容情感, 美学建筑(学)家园, 解构建构(分析)整合学习, 智商情商(IQ、EQ)运筹(学)生存.---Geovin Du(涂聚文)