CentOS 8 安装 jenkins、gitlab-ce、SonarQube教程
一、在 CentOS8 上安装 jenkins
在一台 CentOS8(IP:10.0.0.81 RAM:2GB )上安装 jenkins-2.452.4
1、配置Java环境
从 Jenkins-2.357 版本开始 JDK 最低要求 java 11,而 jenkins-2.346.1 是最后一个支持 java 1.8 的版本。
点击查看代码
1.先查看系统是否自带了jdk,若有输出信息,批量卸载自带jdk
[root@centos8 ~]# rpm -qa | grep java | xargs rpm -e --nodeps
rpm: no packages given for erase

2.查看可安装的JDK版本
[root@centos8 ~]# yum search java

3.安装 OpenJDK 11 RPM包,安装完成后验证JDK版本
[root@centos8 ~]# yum -y install java-11-openjdk-devel.x86_64
[root@centos8 ~]# java -version
openjdk version "11.0.13" 2021-10-19 LTS
OpenJDK Runtime Environment 18.9 (build 11.0.13+8-LTS)
OpenJDK 64-Bit Server VM 18.9 (build 11.0.13+8-LTS, mixed mode, sharing)
2、下载 jenkins 并安装
点击查看代码
1.直接从国内镜像站下载 gitlab-ce 的 rpm 包
[root@centos8 ~]# wget https://mirrors.tuna.tsinghua.edu.cn/jenkins/redhat-stable/jenkins-2.452.4-1.1.noarch.rpm

2.用 rpm 命令安装 gitlab-ce-17.1.6-ce.0.el8.x86_64.rpm
[root@centos8 ~]# rpm -ivh jenkins-2.452.4-1.1.noarch.rpm
warning: jenkins-2.452.4-1.1.noarch.rpm: Header V4 RSA/SHA512 Signature, key ID ef5975ca: NOKEY
Verifying...                          ################################# [100%]
Preparing...                          ################################# [100%]
Updating / installing...
   1:jenkins-2.452.4-1.1              ################################# [100%]

3.查看 jenkins 所有配置文件路径
[root@centos8 ~]# rpm -ql jenkins
/usr/bin/jenkins
/usr/lib/systemd/system/jenkins.service
/usr/lib/tmpfiles.d/jenkins.conf
/usr/share/java/jenkins.war
/usr/share/jenkins/migrate
/var/cache/jenkins
/var/lib/jenkins #CentOS8离线安装Jenkins的配置文件目录
3、启动 jenkins 服务,并访问web页面完成配置
点击查看代码
1.启动jenkins服务并设为开机自启动
[root@centos8 ~]# systemctl start jenkins.service
[root@centos8 ~]# systemctl enable jenkins.service
Created symlink /etc/systemd/system/multi-user.target.wants/jenkins.service → /usr/lib/systemd/system/jenkins.service.
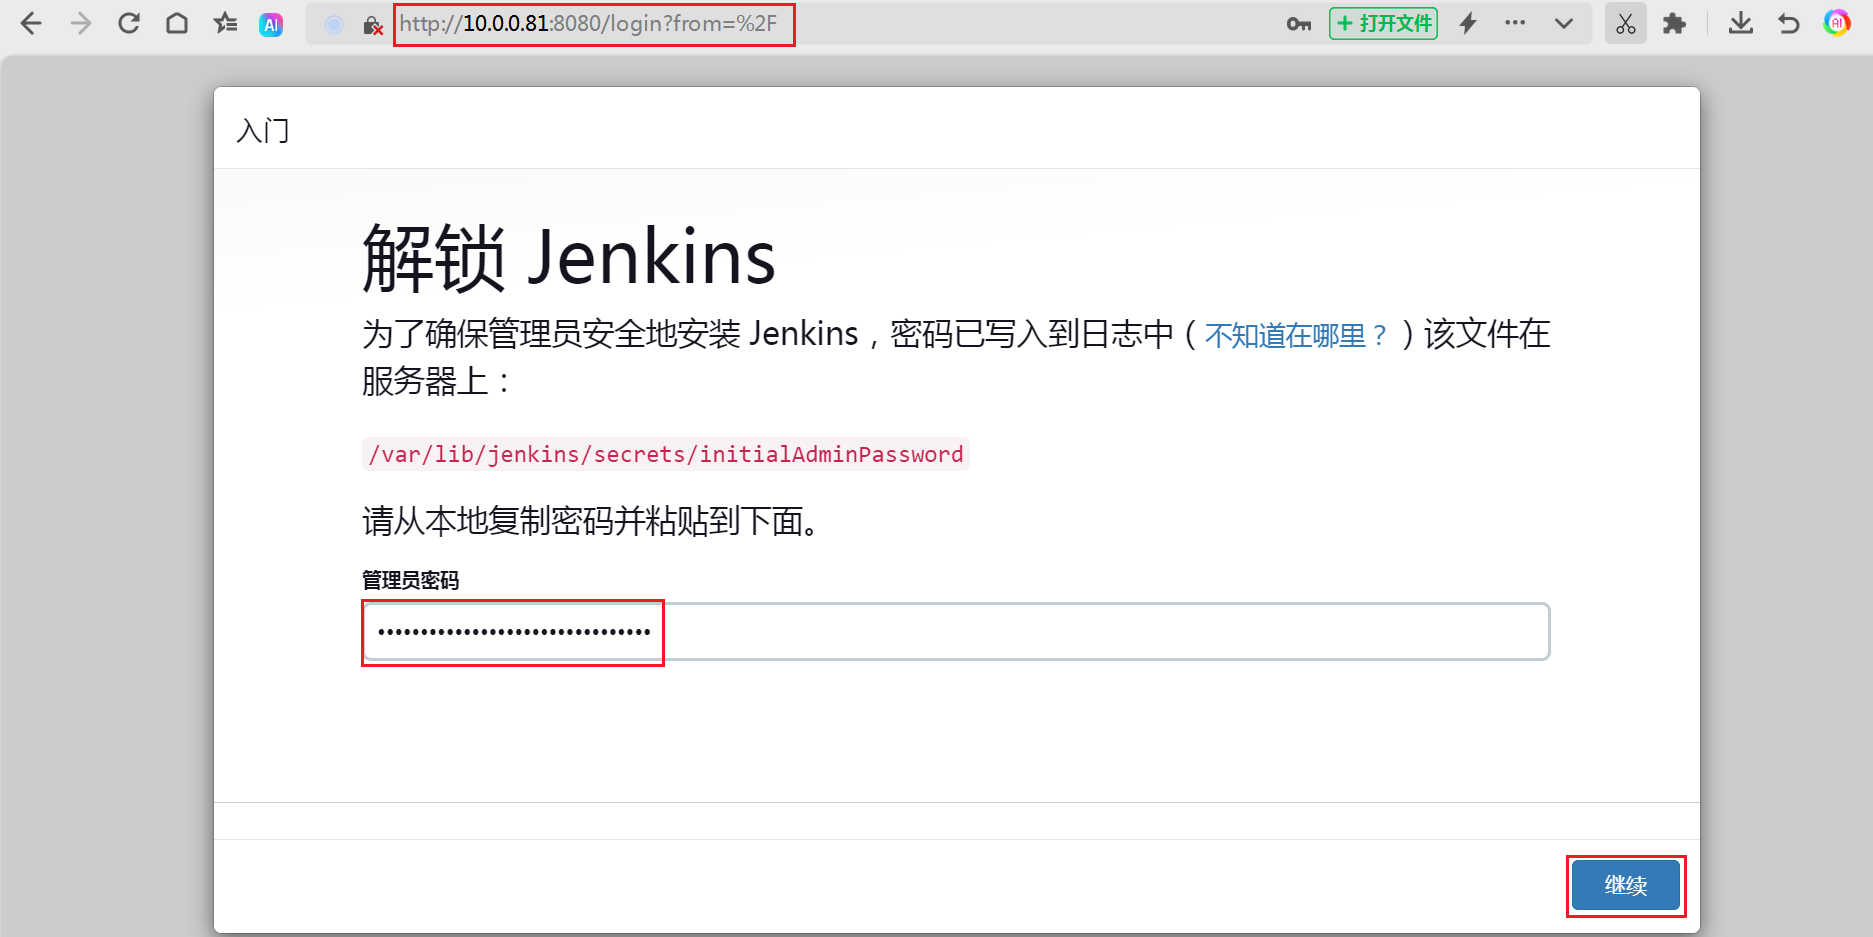
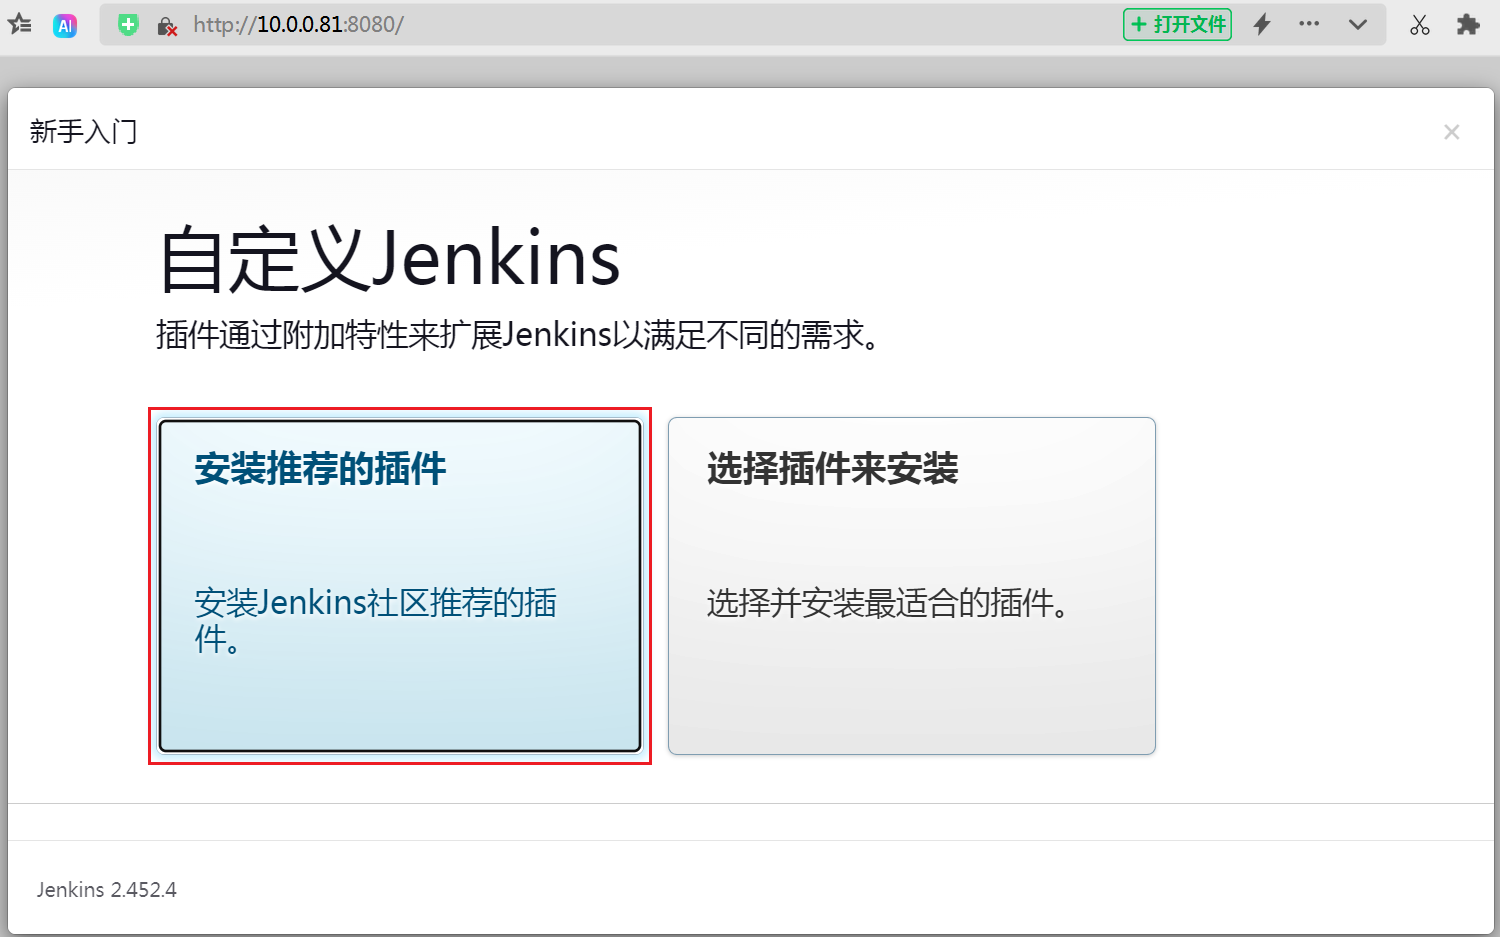
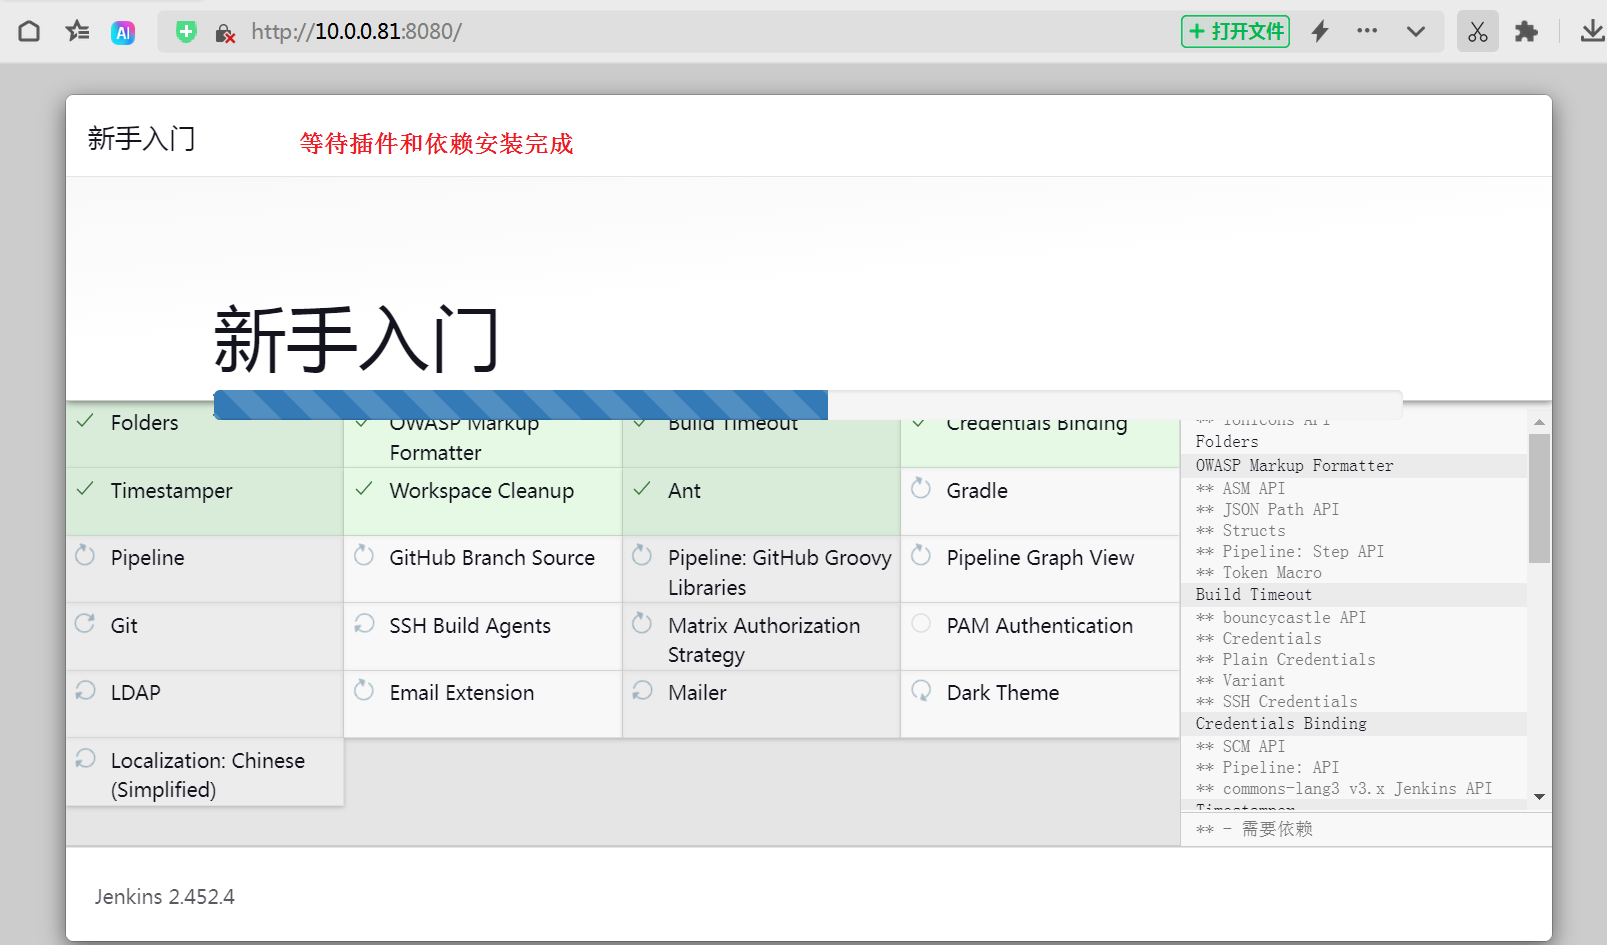
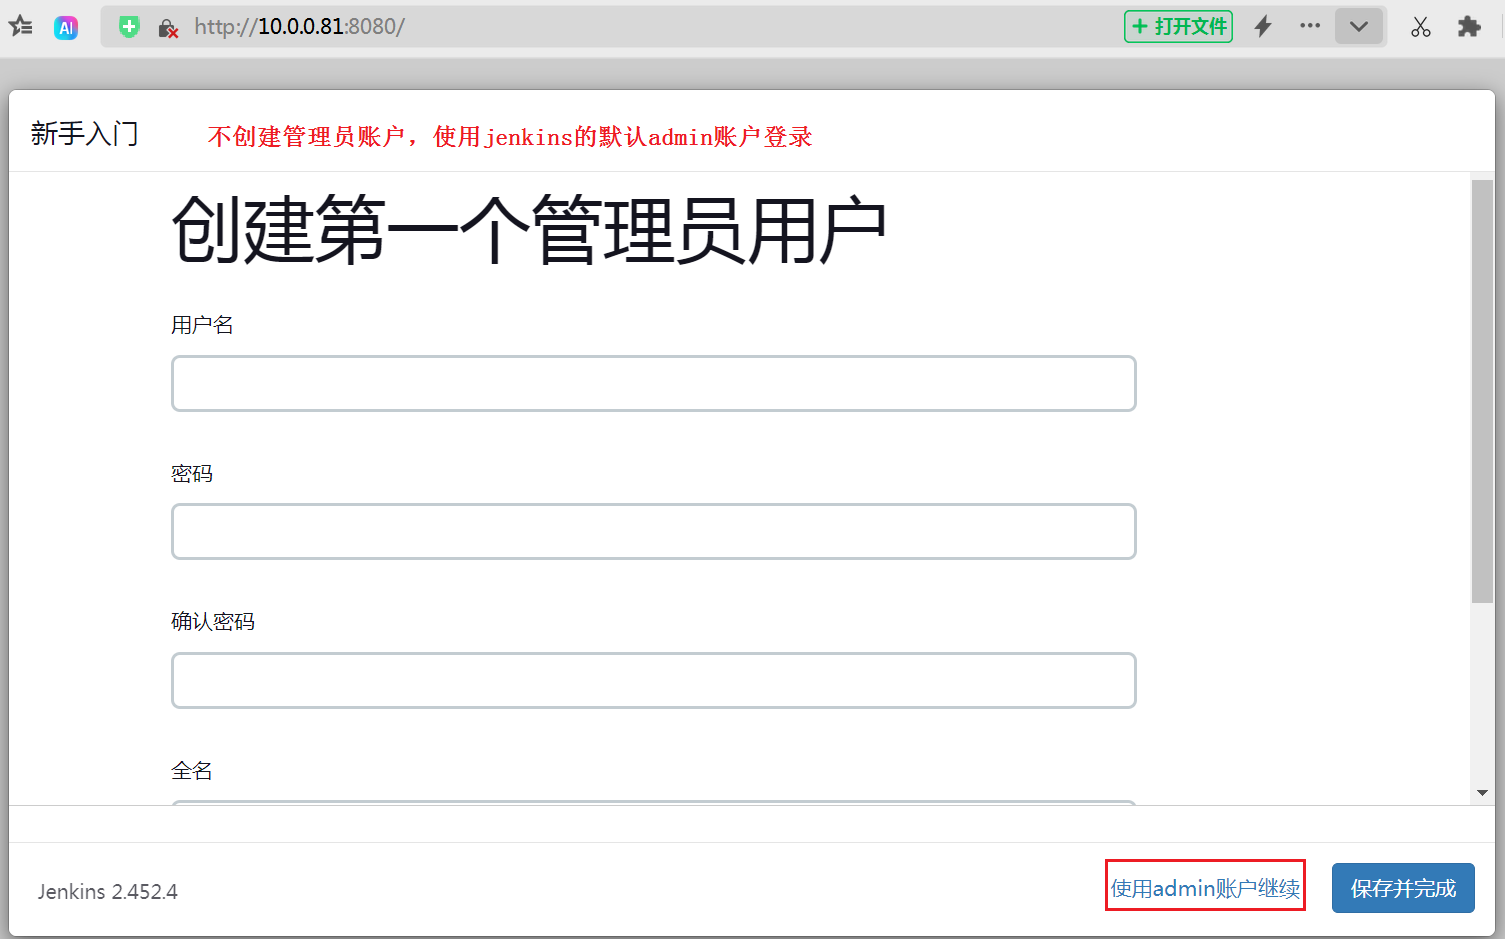
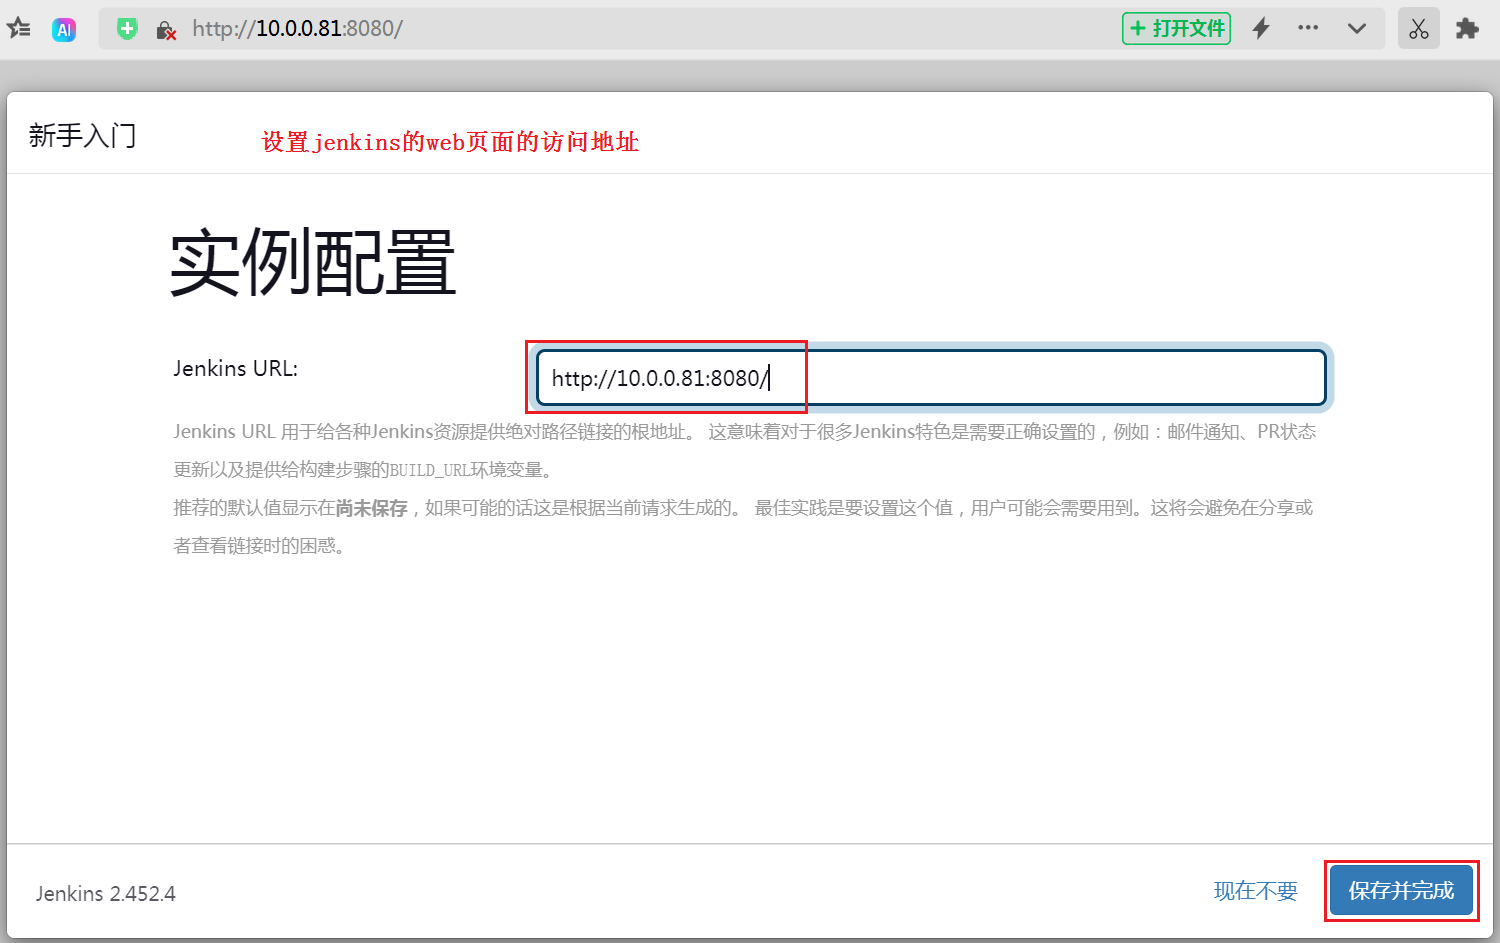
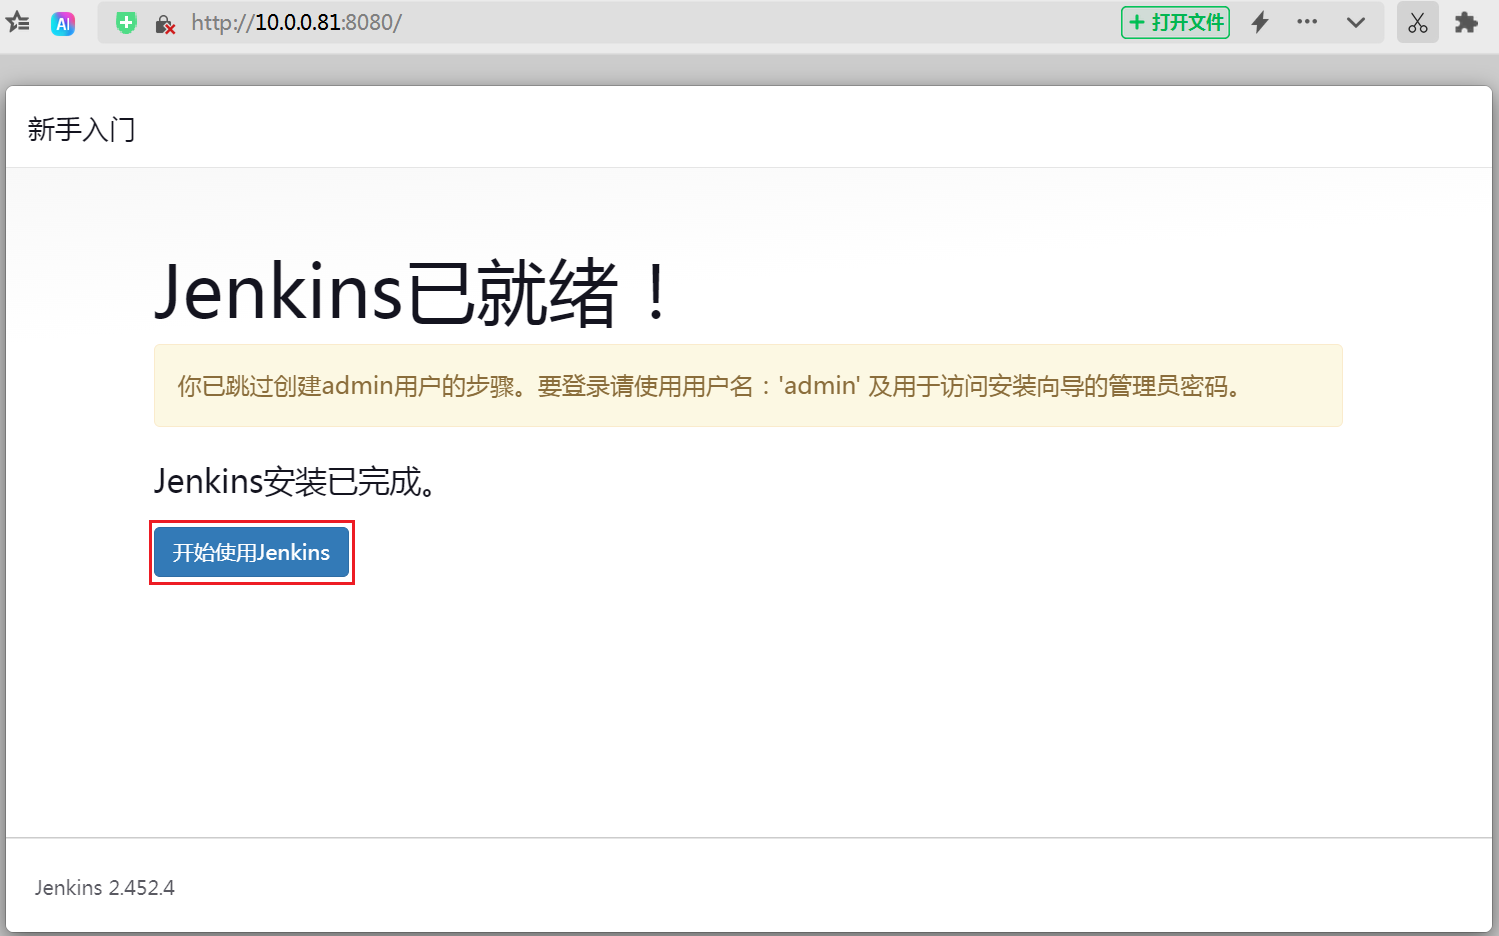
2.访问 http://localhost:8080/,按照web页面的步骤完成配置(大概15分钟)
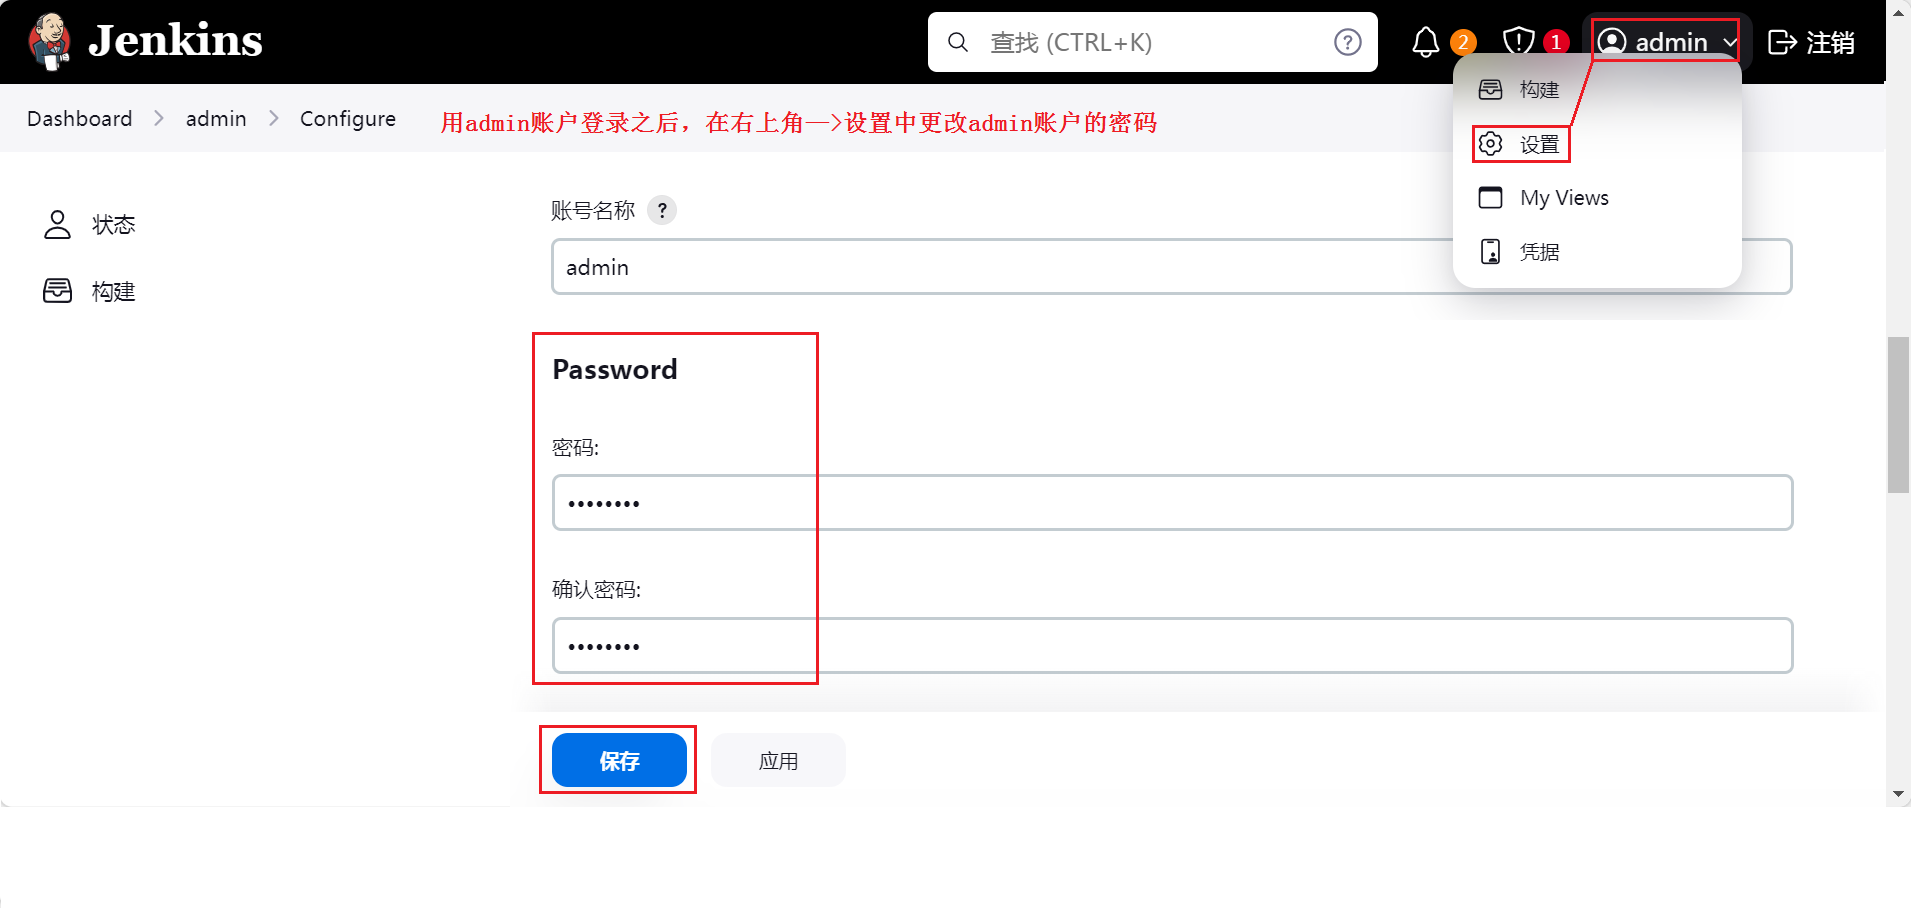
[root@centos8 ~]# cat /var/lib/jenkins/secrets/initialAdminPassword
3432634fbd754e0d853fa4b5a9ea226d #jenkins管理员密码
二、在 CentOS8 上安装 gitlab-ce
在一台 CentOS8(IP:10.0.0.82 RAM:4GB)上安装 gitlab-ce-17.1.6
1、下载 gitlab-ce 并安装
从官方源 https://packages.gitlab.com/gitlab/gitlab-ce 下载或yum库安装
点击查看代码
1.下载 CentOS8 的 gitlab-ce 安装包
[root@centos8 ~]# ll gitlab-ce-17.1.6-ce.0.el8.x86_64.rpm
-rw-r--r-- 1 root root 1043064664 Sep  1 18:18 gitlab-ce-17.1.6-ce.0.el8.x86_64.rpm
2.使用 rpm 命令安装 gitlab-ce-17.1.6-ce.0.el8.x86_64.rpm
[root@centos8 ~]# rpm -ivh gitlab-ce-17.1.6-ce.0.el8.x86_64.rpm
warning: gitlab-ce-17.1.6-ce.0.el8.x86_64.rpm: Header V4 RSA/SHA256 Signature, key ID f27eab47: NOKEY
Verifying...                          ################################# [100%]
Preparing...                          ################################# [100%]
Updating / installing...
   1:gitlab-ce-17.1.6-ce.0.el8        ################################# [100%]
It looks like GitLab has not been configured yet; skipping the upgrade script.
………………省略部分输出信息…………
Thank you for installing GitLab!
GitLab was unable to detect a valid hostname for your instance.
Please configure a URL for your GitLab instance by setting `external_url`
configuration in /etc/gitlab/gitlab.rb file.
Then, you can start your GitLab instance by running the following command:
  sudo gitlab-ctl reconfigure
………………省略部分输出信息…………
2、修改gitlab-ce的配置文件,并初始化
点击查看代码
1.在gitlab-ce的配置文件设置web页面的访问地址
[root@centos8 ~]# vim /etc/gitlab/gitlab.rb
external_url 'http://10.0.0.82'

2.初始化gitlab-ce(大概10分钟)
[root@centos8 ~]# gitlab-ctl reconfigure
………………省略部分输出信息…………
Notes:
Default admin account has been configured with following details:
Username: root
Password: You didn't opt-in to print initial root password to STDOUT.
Password stored to /etc/gitlab/initial_root_password. This file will be cleaned up in first reconfigure run after 24 hours.
………………省略部分输出信息…………
gitlab Reconfigured!
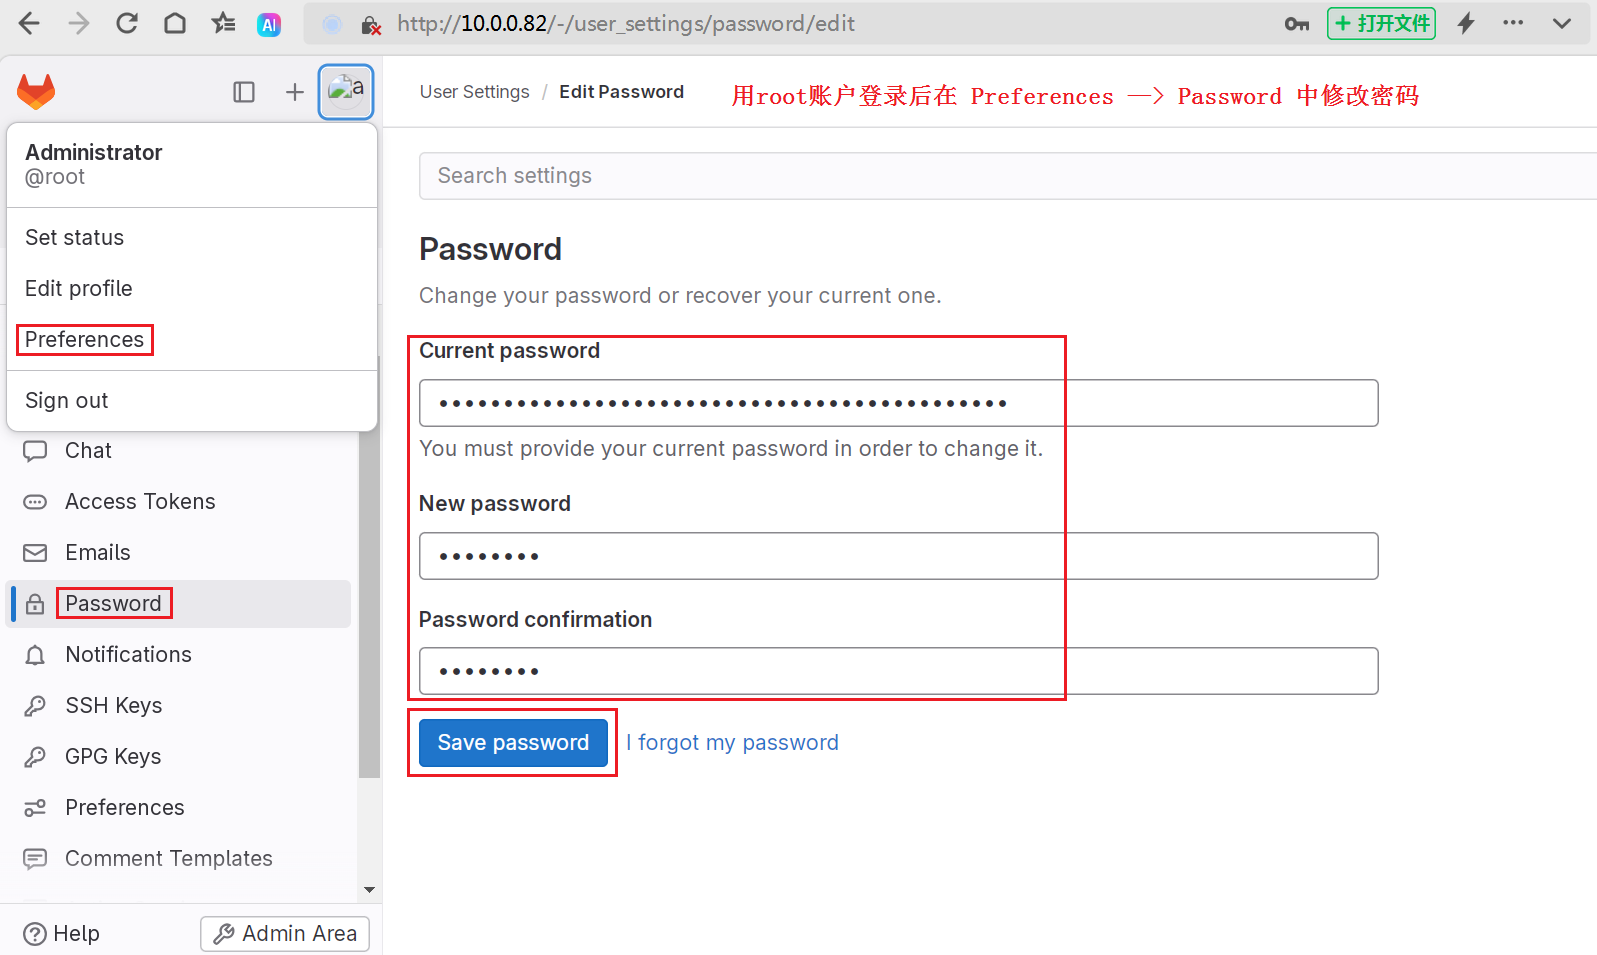
3、登录gitlab的web页面,并设置root密码
点击查看代码
1.查看初始化后生成的root用户的临时密码(24小时后失效)
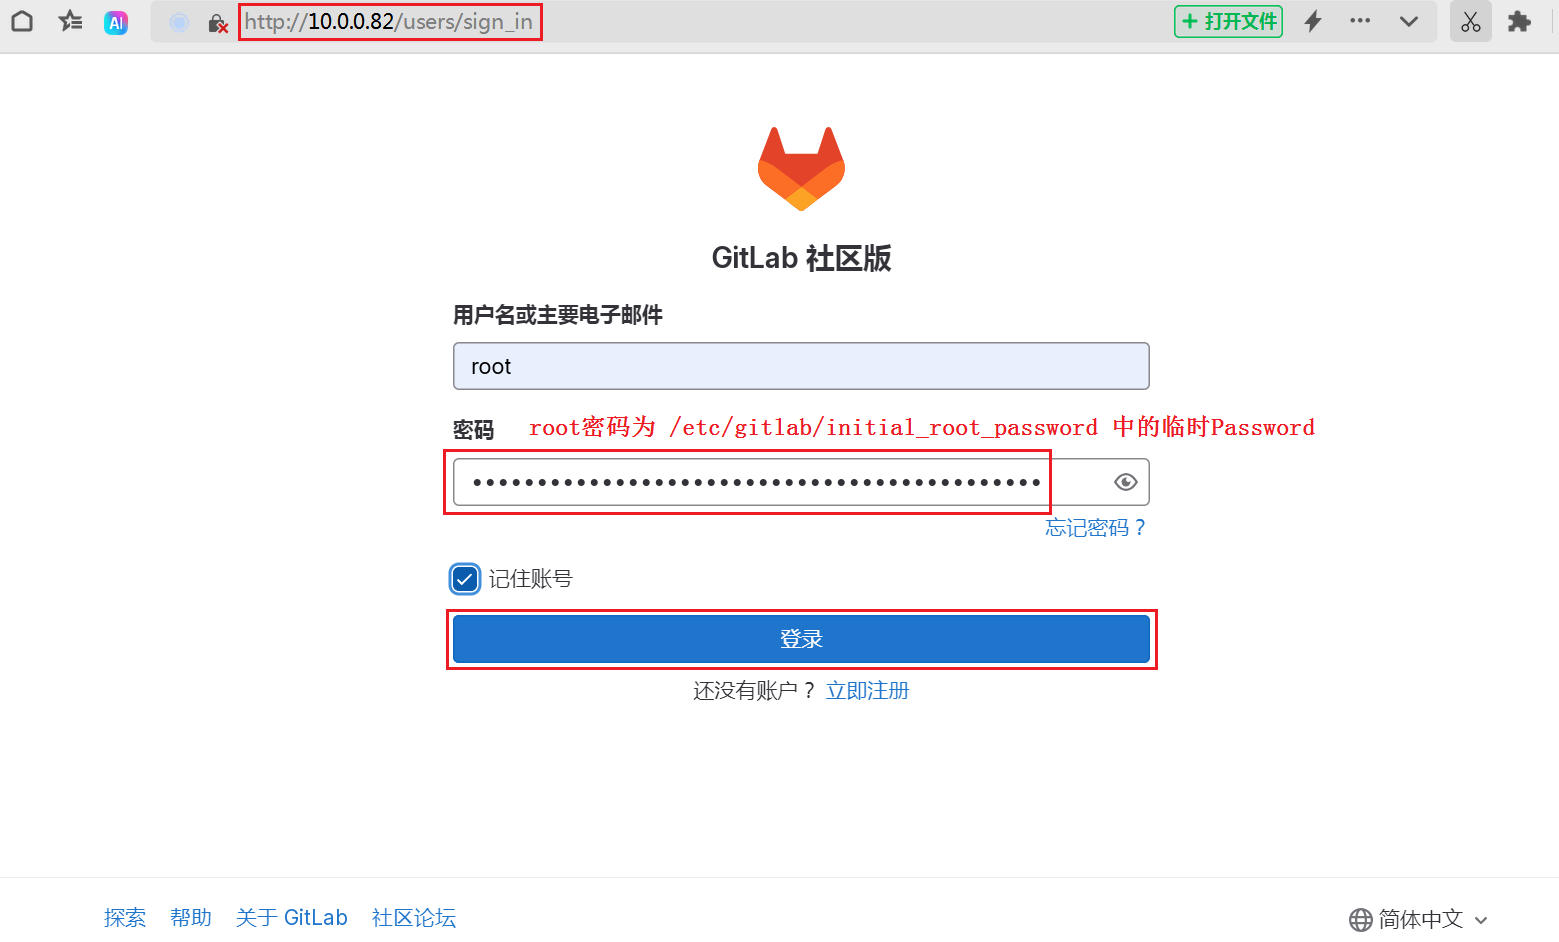
[root@centos8 ~]# cat /etc/gitlab/initial_root_password
Password: JGfs+KcY74aDhAIn6EETHdn+77inmFmqeIB8d02KOns=
2.访问设置的 external_url 即 http://10.0.0.82/ , 用root账户登录web页面
三、在 CentOS8 上安装 SonarQube
在一台 CentOS8(IP:10.0.0.83 RAM:2GB)上安装 sonarqube-8.9.1
1、配置Java环境
查看官网 https://docs.sonarsource.com/sonarqube/8.9/ 可知需要安装 JDK11 版本
点击查看代码
1.查看yum库中可安装的JDK版本
[root@centos8 ~]# yum search jdk

2.安装 java-11-openjdk-devel.x86_64,安装完成后验证JDK版本
[root@centos8 ~]# yum -y install java-11-openjdk-devel.x86_64
[root@centos8 ~]# java --version
openjdk 11.0.13 2021-10-19 LTS
OpenJDK Runtime Environment 18.9 (build 11.0.13+8-LTS)
OpenJDK 64-Bit Server VM 18.9 (build 11.0.13+8-LTS, mixed mode, sharing)
2、修改系统参数和资源限制
为了保证SonarQube正常运行,先查看 https://docs.sonarsource.com/sonarqube/8.9/requirements/prerequisites-and-overview/ 中先决条件和概述
点击查看代码
1.编辑 /etc/sysctl.conf 文件以调整系统参数
[root@centos8 ~]# vim /etc/sysctl.conf
vm.max_map_count=262144 #一个进程可以拥有的最大内存映射区域数
fs.file-max=65536 #系统级别的文件描述符最大限制
[root@centos8 ~]# sysctl -p #重新加载 /etc/sysctl.conf 文件中的设置,使更改生效。

2.编辑 /etc/security/limits.conf 文件设置用户和系统资源限制,重启系统生效
[root@centos8 ~]# vim /etc/security/limits.conf
*   soft   nofile   65536 #所有用户可以打开的最大文件描述符数量为65536,可用ulimit -n查看
*   hard   nofile   65536
*   soft   nproc    4096  #所有用户可以创建的最大进程数为4096,可用 ulimit -u 查看
*   hard   nproc    4096
# End of file
3、部署 PostgreSQL 数据库
查看官网 https://docs.sonarsource.com/sonarqube/8.9/ 可知至少 PostgreSQL 9.6 版本
点击查看代码
1.查看yum库中可安装的 postgresql 包
[root@centos8 ~]# yum list postgresql
Last metadata expiration check: 1:53:24 ago on Sun 01 Sep 2024 08:36:04 PM CST.
Available Packages
postgresql.x86_64                                     10.17-2.module_el8.5.0+865+7313c562                                     AppStrea

2.安装 postgresql 相关包
[root@centos8 ~]# yum -y install postgresql postgresql-contrib postgresql-server

3.初始化 postgresql 数据库,启动并设为开机自启动
[root@centos8 ~]# postgresql-setup initdb
[root@centos8 ~]# systemctl start postgresql.service
[root@centos8 ~]# systemctl enable postgresql.service
Created symlink /etc/systemd/system/multi-user.target.wants/postgresql.service → /usr/lib/systemd/system/postgresql.service.

4.修改PostgresSQL数据库的访问控制文件,允许所有主机访问
[root@centos8 ~]# vim /var/lib/pgsql/data/pg_hba.conf
# "local" is for Unix domain socket connections only
local   all             all                                     trust
# IPv4 local connections:
host    all             all             127.0.0.1/32            trust
# IPv6 local connections:
host    all             all             ::1/128                 trust

5.切换到 postgres 用户,并登录 PostgreSQL 数据库(安装完后会自动创建postgres用户)
[root@centos8 ~]# su - postgres
[postgres@centos8 ~]$ psql -U postgres
psql (10.17)
Type "help" for help.

postgres=# CREATE DATABASE sonar;
CREATE DATABASE #创建数据库sonar
postgres=# CREATE USER sonar WITH ENCRYPTED PASSWORD 'a12345.';
CREATE ROLE #创建密码为a12345.的用户sonar
postgres=# GRANT ALL PRIVILEGES ON DATABASE sonar TO sonar;
GRANT #授权sonar用户访问sonar数据库的权限(属主改为sonar,否则会sonarqube会连接失败)
postgres=# ALTER DATABASE sonar OWNER TO sonar;
ALTER DATABASE #执行变更
postgres=# \quit
[postgres@centos8 ~]$ exit
logout

6.重启 PostgresSQL 服务,查看是否监听postgresql数据库的5432端口
[root@centos8 ~]# systemctl restart postgresql.service
[root@centos8 ~]# ss -ntl | grep 5432
LISTEN    0         128              127.0.0.1:5432             0.0.0.0:*
LISTEN    0         128                  [::1]:5432                [::]:*
4、部署 SonarQube 服务器
从官方网站 https://www.postgresql.org/download/linux/ 下载适配的 SonarQube 版本。
点击查看代码
1.下载并解压 sonarqube-8.9.10.61524.zip 到指定目录
[root@centos8 ~]# unzip sonarqube-8.9.10.61524.zip -d /opt/
[root@centos8 ~]# cd /opt/
2.为SonarQube安装目录创建软连接去掉版本号方便后期维护
[root@centos8 opt]# ln -sv /opt/sonarqube-8.9.10.61524 /opt/sonarqube
'/opt/sonarqube' -> '/opt/sonarqube-8.9.10.61524'
3.创建启动sonarqube的普通用户mage,并修改SonarQube安装的目录的属主为mage
[root@centos8 opt]# chown -R mage:mage /opt/sonarqube/
4.修改 SonarQube 的主配置文件,指定数据库账户和地址
[root@centos8 opt]# vim /opt/sonarqube/conf/sonar.properties
sonar.jdbc.username=sonar
sonar.jdbc.password=a12345.
sonar.jdbc.url=jdbc:sqlserver://10.0.0.83/sonar
5.切换到普通用户mage,启动SonarQube服务
[root@centos8 opt]# su - mage
[mage@centos8 ~]$ /opt/sonarqube/bin/linux-x86-64/sonar.sh start #启动服务
Starting SonarQube...
Started SonarQube.
[mage@centos8 ~]$ /opt/sonarqube/bin/linux-x86-64/sonar.sh status #验证服务
SonarQube is running (1501).
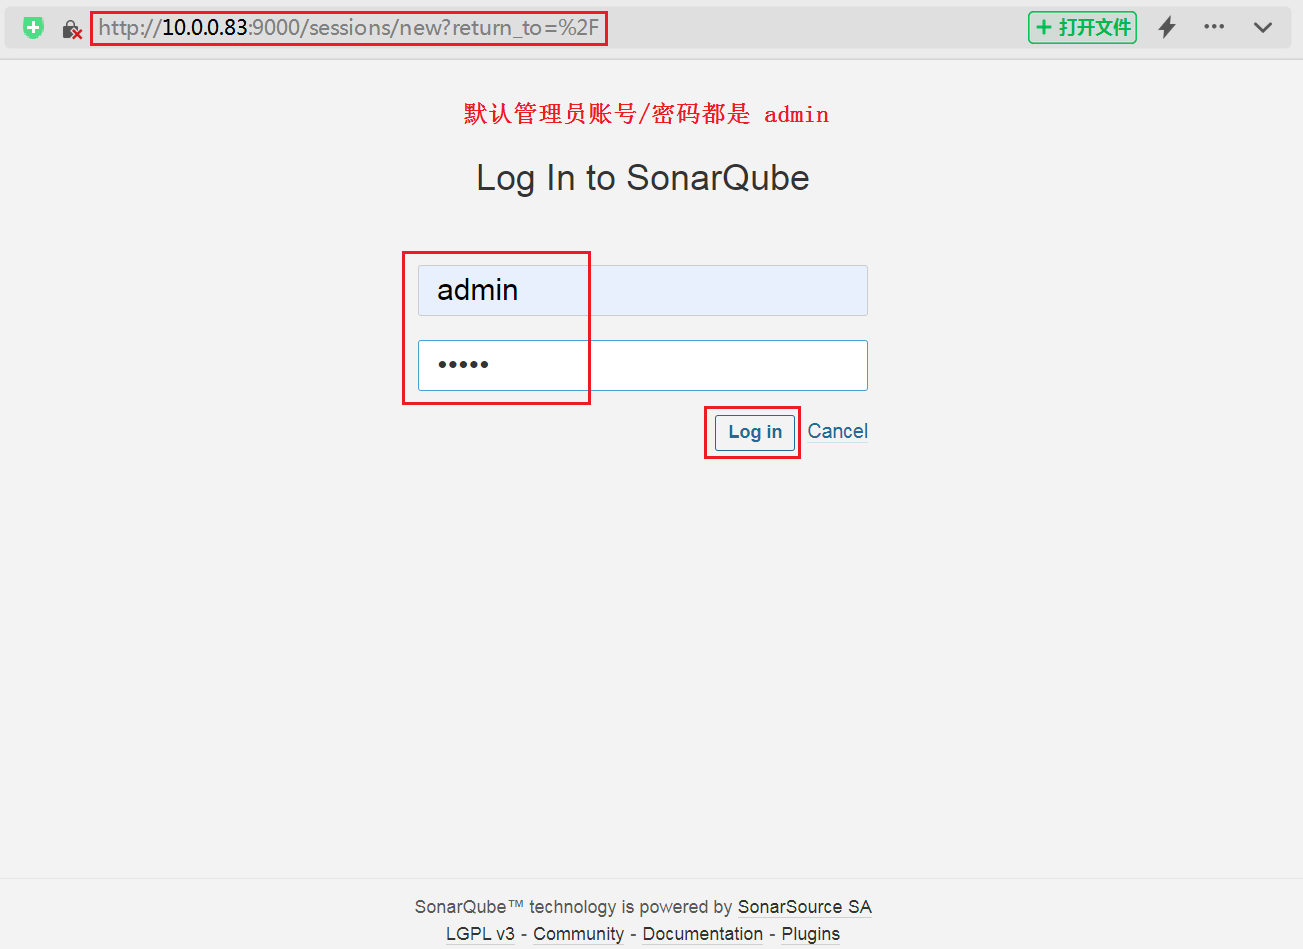
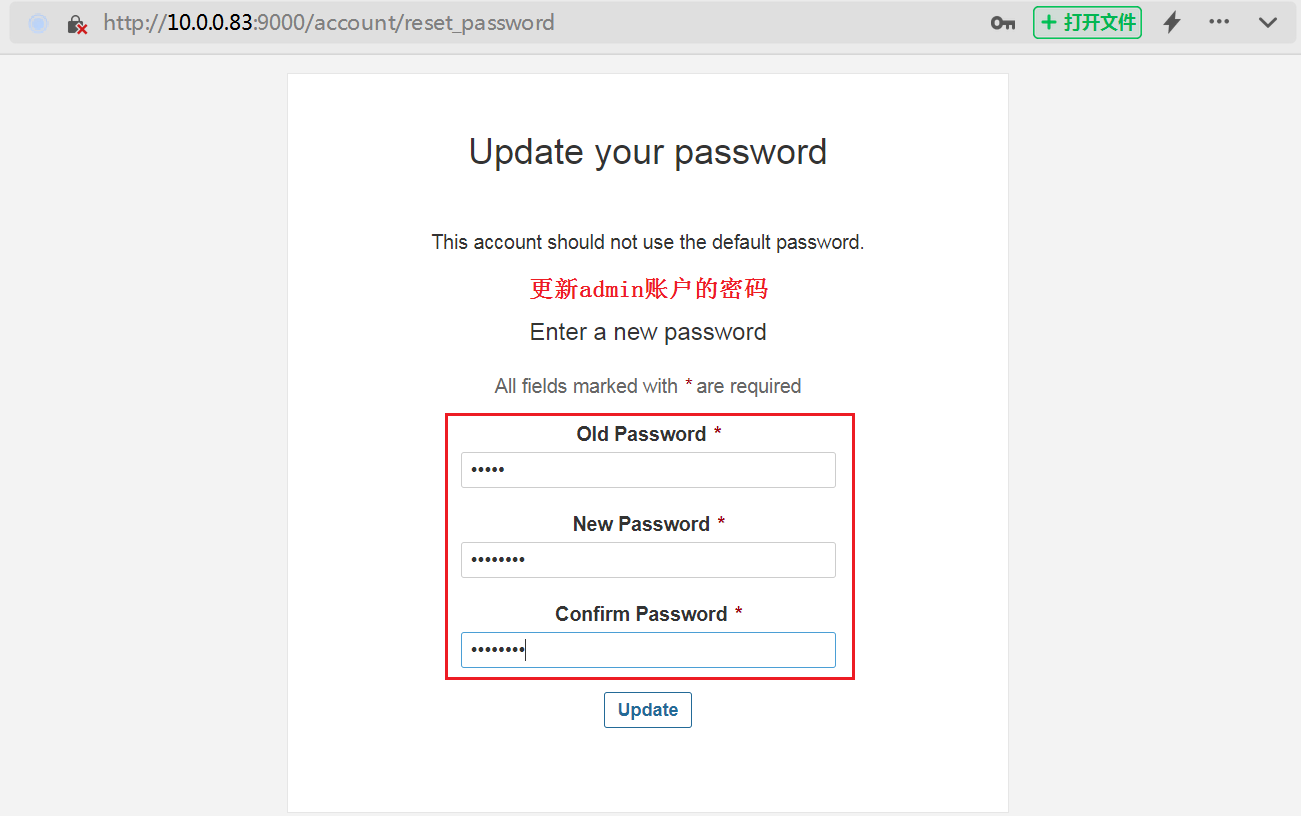
6.访问 http://localhost:900,登录 SonarQube 服务器的 web 页面,完成配置
[mage@centos8 ~]$ ss -ntl | grep 9000 #验证是否监听SonarQube服务的9000端口
LISTEN 0 25 *:9000 *:*
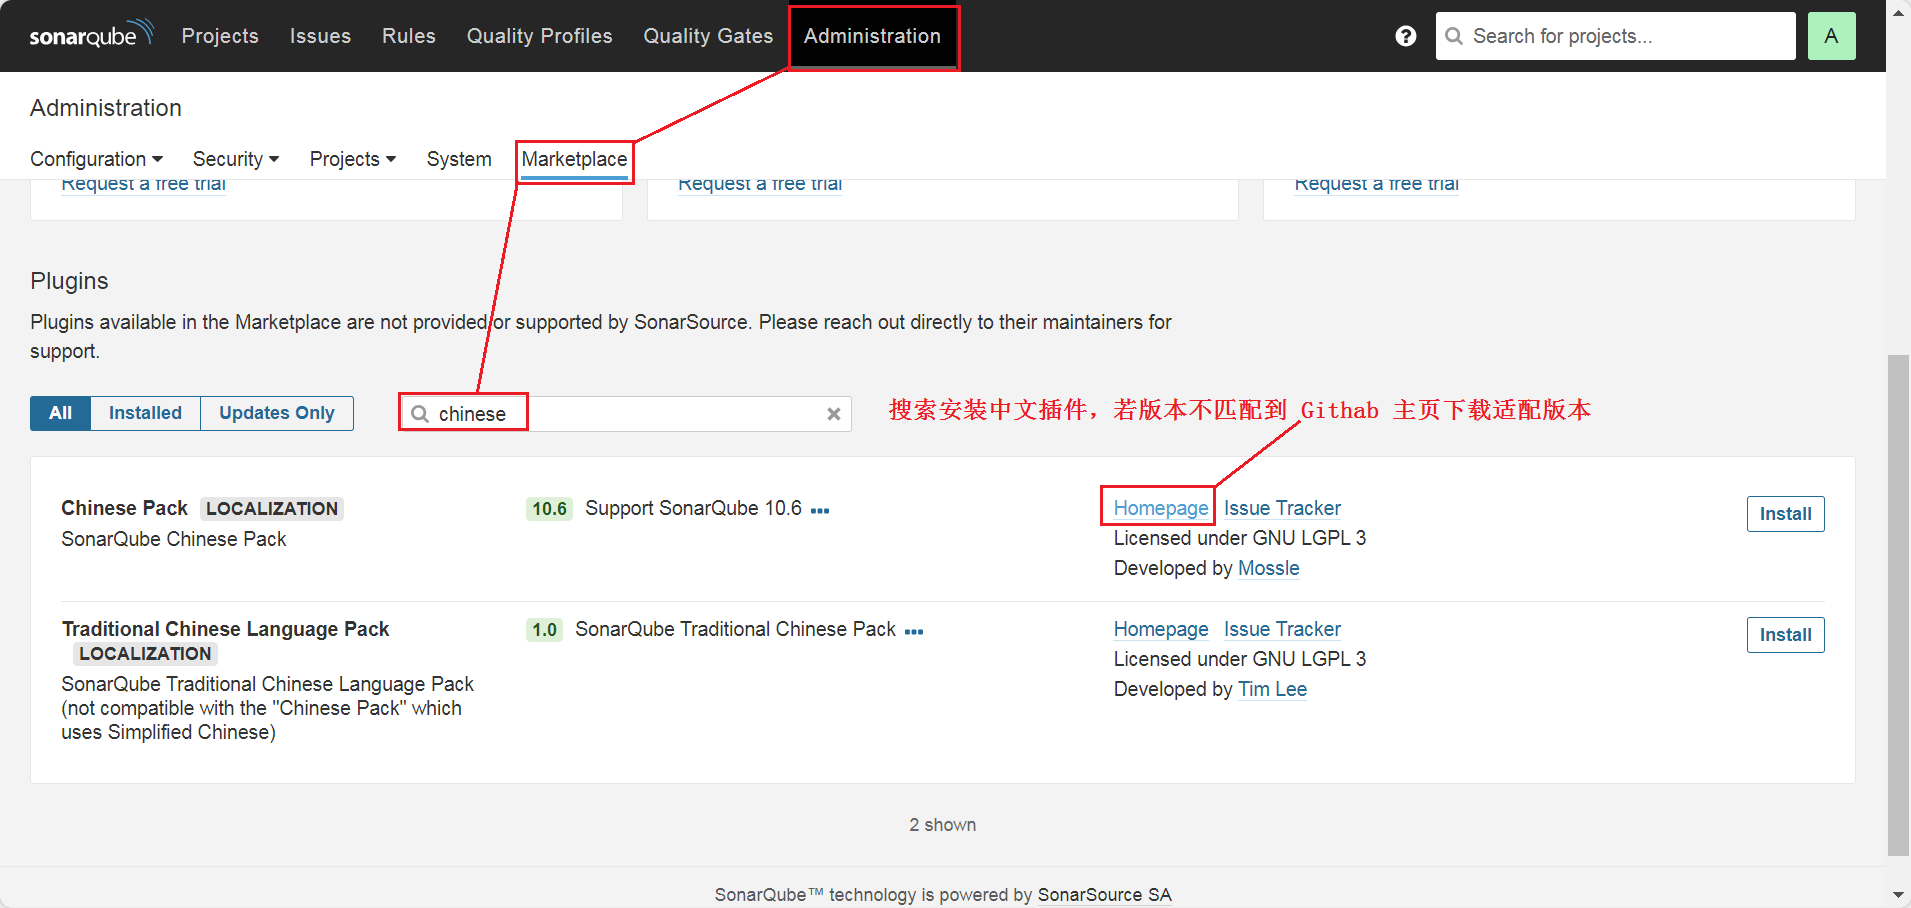
5、安装中文插件
点击查看代码
#将插件下载到插件目录,重启SonarQube服务即可生效
[mage@centos8 ~]$ cd /opt/sonarqube/extensions/plugins/
[mage@centos8 plugins]$ wget https://github.com/xuhuisheng/sonar-l10n-zh/releases/download/sonar-l10n-zh-plugin-8.9/sonar-l10n-zh-plugin-8.9.jar
[mage@centos8 plugins]$ ls
README.txt  sonar-l10n-zh-plugin-8.9.jar
[mage@centos8 plugins]$ /opt/sonarqube/bin/linux-x86-64/sonar.sh restart