spring-boot学习记录
学习参考网站
1天搞定SpringBoot+Vue全栈开发-bilibili
准备
项目热部署
视频中的idea版本较老,热部署实现参考IDEA2021 热部署-知乎
修改默认端口
在 src/main/resources/application.properties 文件中添加 server.port=80
相关知识
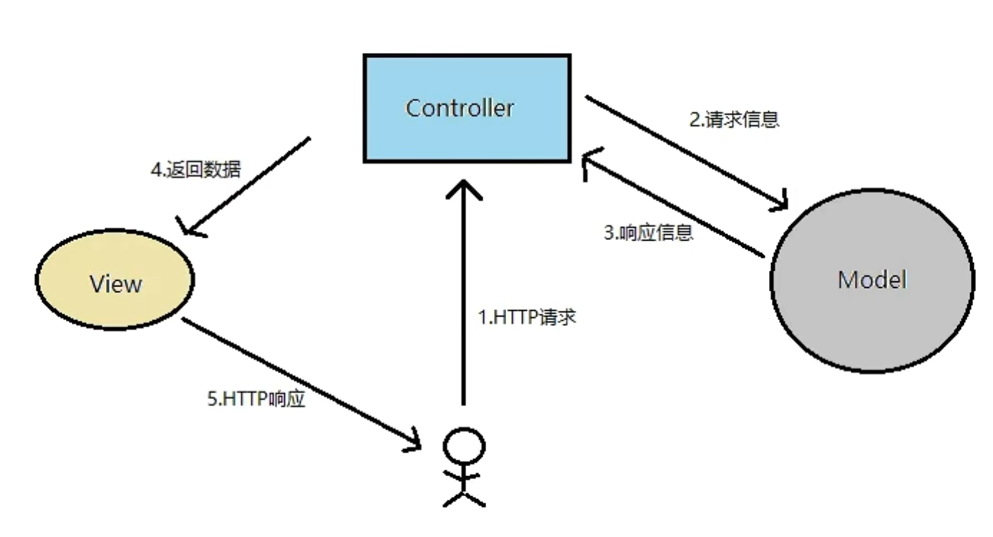
MVC模式(model-controller-view)
控制器
一个控制器文件例子
@RestController //标志控制器
public class HelloController {
//  GET: http://localhost/hello?nickname=xxx
    @RequestMapping(value = "/hello",method = RequestMethod.GET) //指明访问方法
    public String hello(@RequestParam(name = "nickname", required = false) String name){
        return "你好" + name;
    }
/*  POST: http://localhost/hellopost3
          body:{
                  "username": "林霞",
                  "password": "esse"
                } */
    @PostMapping("/hellopost3")
    public String helloPost(@RequestBody User user){
        System.out.println(user);
        return "hello";
    }
}
两种注解
@Controller
请求页面+数据,要求返回界面
@RestController
只请求数据,前后分离适用
返回的对象会转化成json格式
路由映射
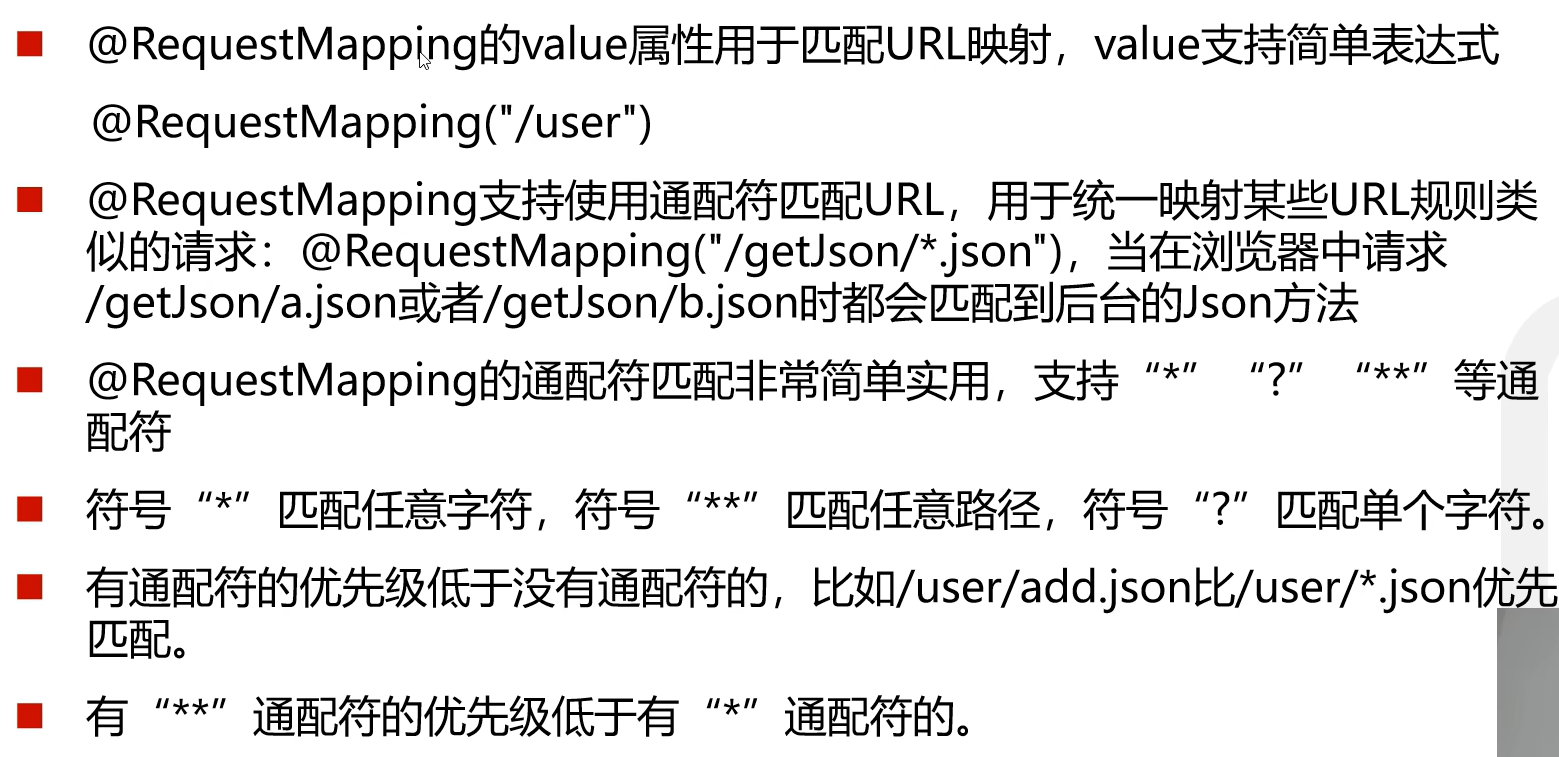
- vaule
- method
规定请求方法
e.g.method = RequestMethod.GET
也可使用@GetMapping替代
参数传递
- 直接在函数中添加与前端参数名称相同的名称的参数即可
e.g.
public String hello(String nickname)
即可获取地址栏/body中的nickname数据(/hello?nickname=xxx)
- 若参数名称不同,也可使用
@RequestParam注解
e.g.
public String hello(@RequestParam("nickname") String name)
此时nickname参数变为必须项,可添加参数required = false变为可选
实体类
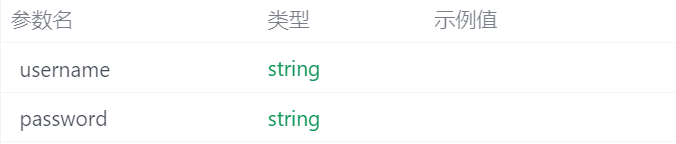
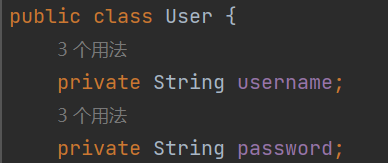
如果需要传递的参数很多呢?全部写在参数处太麻烦,此时需要创建一个实体类来封装这些参数
e.g. src/main/java/com/example/helloworld/entity/User.java
此时只需要在函数中将User作为参数即可
// 注意传过来的参数要与User中定义的参数相同
@PostMapping("/hellopost3")
    public String helloPost(User user){
        System.out.println(user);
        return "hello";
    }
参数名需一致
- 若前端传递的为json类型数据,需添加注解
@RequestBody