Linux之openssl实现私有CA
一、简介
Centos7.9通过openssl工具构建一个私有的CA,用于颁发证书。
验证私有CA为httpd应用签署证书
二、构建私有CA
1、编辑CA的配置文件
[root@HLWHOST tls]# pwd
/etc/pki/tls
[root@HLWHOST tls]# cat /etc/pki/tls/openssl.cnf
...
####################################################################
[ CA_default ]

dir             = /etc/pki/CA           # Where everything is kept
certs           = $dir/certs            # Where the issued certs are kept
crl_dir         = $dir/crl              # Where the issued crl are kept
database        = $dir/index.txt        # database index file.
#unique_subject = no                    # Set to 'no' to allow creation of
                                        # several ctificates with same subject.
new_certs_dir   = $dir/newcerts         # default place for new certs.

certificate     = /etc/pki/CA/cacert.pem        # The CA certificate
serial          = $dir/serial           # The current serial number
crlnumber       = $dir/crlnumber        # the current crl number
                                        # must be commented out to leave a V1 CRL
crl             = $dir/crl.pem          # The current CRL
private_key     = /etc/pki/CA/private/cakey.pem# The private key
RANDFILE        = $dir/private/.rand    # private random number file

x509_extensions = usr_cert              # The extentions to add to the cert

...
[ req_distinguished_name ]
countryName                     = Country Name (2 letter code)
countryName_default             = CN
countryName_min                 = 2
countryName_max                 = 2

stateOrProvinceName             = State or Province Name (full name)
#stateOrProvinceName_default    = Default Province

localityName                    = Locality Name (eg, city)
localityName_default            = beijing

0.organizationName              = Organization Name (eg, company)
0.organizationName_default      = Default Company Ltd
...
2、生成rsa私钥
[root@HLWHOST ca]# cat /etc/redhat-release
CentOS Linux release 7.9.2009 (Core)
[root@HLWHOST ca]# cd /etc/pki/
CA/         ca-trust/   java/       nssdb/      nss-legacy/ rpm-gpg/    rsyslog/    tls/
[root@HLWHOST ca]# cd /etc/pki/CA/
[root@HLWHOST CA]# ls
certs  crl  newcerts  private
[root@HLWHOST CA]# (umask 077;openssl genrsa -out private/cakey.pem 2048)
Generating RSA private key, 2048 bit long modulus (2 primes)
.....................................+++++
..................+++++
e is 65537 (0x010001)
[root@HLWHOST CA]# ls -l private/
总用量 4
-rw-------. 1 root root 1675 1月  26 11:25 cakey.pem
[root@HLWHOST CA]#
3、生成CA自身的证书
[root@HLWHOST CA]# openssl req -new -x509 -key private/cakey.pem -out cacert.pem
You are about to be asked to enter information that will be incorporated
into your certificate request.
What you are about to enter is what is called a Distinguished Name or a DN.
There are quite a few fields but you can leave some blank
For some fields there will be a default value,
If you enter '.', the field will be left blank.
-----
Country Name (2 letter code) [AU]:
State or Province Name (full name) [Some-State]:
Locality Name (eg, city) []:
Organization Name (eg, company) [Internet Widgits Pty Ltd]:
Organizational Unit Name (eg, section) []:
Common Name (e.g. server FQDN or YOUR name) []:HLWHOST
Email Address []:

* 一定确保以下几个目录存在,不存在创建
[root@HLWHOST CA]# ls
cacert.pem  certs  crl  newcerts  private
[root@HLWHOST CA]# touch index.txt
[root@HLWHOST CA]# touch serial
[root@HLWHOST CA]# echo 01 > serial
[root@HLWHOST CA]# ls
cacert.pem  certs  crl  index.txt  newcerts  private  serial
以上一个私有的CA机构构建完成
三、Web服务通过私有CA进行证书签署
  第一步:生成客户端的密钥,即客户端的公私钥对,且要保证私钥只有客户端自己拥有。

  第二步:以客户端的密钥和客户端自身的信息(国家、机构、域名、邮箱等)为输入,生成证书请求文件。其中客户端的公钥和客户端信息是明文保存在证书请求文件中的,而客户端私钥的作用是对客户端公钥及客户端信息做签名,自身是不包含在证书请求中的。然后把证书请求文件发送给CA机构。

  第三步:CA机构接收到客户端的证书请求文件后,首先校验其签名,然后审核客户端的信息,最后CA机构使用自己的私钥为证书请求文件签名,生成证书文件,下发给客户端。此证书就是客户端的身份证,来表明用户的身份。
1、在httpd配置文件目录创建证书存放目录
[root@HLWHOST CA]# cd /etc/httpd/
[root@HLWHOST httpd]# mkdir ssl
[root@HLWHOST httpd]# cd ssl/
[root@HLWHOST ssl]# pwd
/etc/httpd/ssl
2、生成httpd自己的密钥
[root@HLWHOST ssl]# (umask 077;openssl genrsa -out httpd.key 1024)
Generating RSA private key, 1024 bit long modulus (2 primes)
...........................................+++++
..........+++++
e is 65537 (0x010001)
3、生成一个证书颁发请求
[root@HLWHOST ssl]# openssl req -new  -key httpd.key -out httpd.csr
You are about to be asked to enter information that will be incorporated
into your certificate request.
What you are about to enter is what is called a Distinguished Name or a DN.
There are quite a few fields but you can leave some blank
For some fields there will be a default value,
If you enter '.', the field will be left blank.
-----
Country Name (2 letter code) [AU]:
State or Province Name (full name) [Some-State]:
Locality Name (eg, city) []:
Organization Name (eg, company) [Internet Widgits Pty Ltd]:
Organizational Unit Name (eg, section) []:
Common Name (e.g. server FQDN or YOUR name) []:HLWHOST
Email Address []:

Please enter the following 'extra' attributes
to be sent with your certificate request
A challenge password []:
An optional company name []:
[root@HLWHOST ssl]# ls
httpd.csr  httpd.key
注意:server FQDN or YOUR name为使用证书的web的主机名,不要填错。
4、CA对httpd的证书签署请求做签署
[root@HLWHOST ssl]# openssl ca -in httpd.csr -out httpd.crt -days 365 -config /etc/pki/tls/openssl.cnf
Using configuration from /etc/pki/tls/openssl.cnf
Can't load /root/.rnd into RNG
140691121755968:error:2406F079:random number generator:RAND_load_file:Cannot open file:crypto/rand/randfile.c:98:Filename=/root/.rnd
Check that the request matches the signature
Signature ok
Certificate Details:
        Serial Number: 1 (0x1)
        Validity
            Not Before: Jan 27 02:28:26 2024 GMT
            Not After : Jan 26 02:28:26 2025 GMT
        Subject:
            countryName               = AU
            stateOrProvinceName       = Some-State
            organizationName          = Internet Widgits Pty Ltd
            commonName                = HLWHOST
        X509v3 extensions:
            X509v3 Basic Constraints:
                CA:FALSE
            Netscape Comment:
                OpenSSL Generated Certificate
            X509v3 Subject Key Identifier:
                9C:FD:D7:D6:25:9C:6E:9B:55:54:D7:99:5D:33:40:D7:E5:8C:90:28
            X509v3 Authority Key Identifier:
                keyid:62:FE:15:14:9F:9A:AE:BD:4A:28:8F:DF:3A:59:D0:77:CA:8D:DC:F2

Certificate is to be certified until Jan 26 02:28:26 2025 GMT (365 days)
Sign the certificate? [y/n]:y

1 out of 1 certificate requests certified, commit? [y/n]y
Write out database with 1 new entries
Data Base Updated

[root@HLWHOST ssl]# ll
总用量 12
-rw-r--r--. 1 root root 3692 1月  27 10:34 httpd.crt
-rw-r--r--. 1 root root  627 1月  27 10:22 httpd.csr
-rw-------. 1 root root  887 1月  27 10:19 httpd.key
- 查看CA数据库已经更新
[root@HLWHOST ssl]# cat /etc/pki/CA/index.txt
V       250126022826Z           01      unknown /C=AU/ST=Some-State/O=Internet Widgits Pty Ltd/CN=HLWHOST
四、基于https访问页面
1、安装mod_ssl模块
[root@HLWHOST ssl]# yum -y install mod_ssl
...
已安装:
  mod_ssl.x86_64 1:2.4.6-99.el7.centos.1
2、修改配置文件
[root@HLWHOST tls]#  vim /etc/httpd/conf.d/ssl.conf
SSLEngine on
#   Server Certificate:
# Point SSLCertificateFile at a PEM encoded certificate.  If
# the certificate is encrypted, then you will be prompted for a
# pass phrase.  Note that a kill -HUP will prompt again.  A new
# certificate can be generated using the genkey(1) command.
#SSLCertificateFile /etc/pki/tls/certs/localhost.crt

SSLCertificateFile /etc/httpd/ssl/httpd.crt
SSLCertificateKeyFile /etc/httpd/ssl/httpd.key
SSLCACertificateFile /etc/pki/CA/cacert.pem


#   Server Private Key:
#   If the key is not combined with the certificate, use this
#   directive to point at the key file.  Keep in mind that if
#   you've both a RSA and a DSA private key you can configure
#   both in parallel (to also allow the use of DSA ciphers, etc.)
#SSLCertificateKeyFile /etc/pki/tls/private/localhost.key
SSLCertificateKeyFile /etc/httpd/ssl/httpd.key
3、重启httpd服务
[root@HLWHOST tls]# systemctl restart httpd
[root@HLWHOST tls]# netstat -nutlp | grep 81
tcp6       0      0 :::81                   :::*                    LISTEN      46454/httpd
udp6       0      0 fe80::f816:3eff:fea:123 :::*                                17542/ntpd
4、准备测试页面
[root@HLWHOST tls]# echo "http_ssl_test" > /var/www/html/index.html
[root@HLWHOST tls]# cat  /var/www/html/index.html
http_ssl_test
5、验证基于https访问默认页面
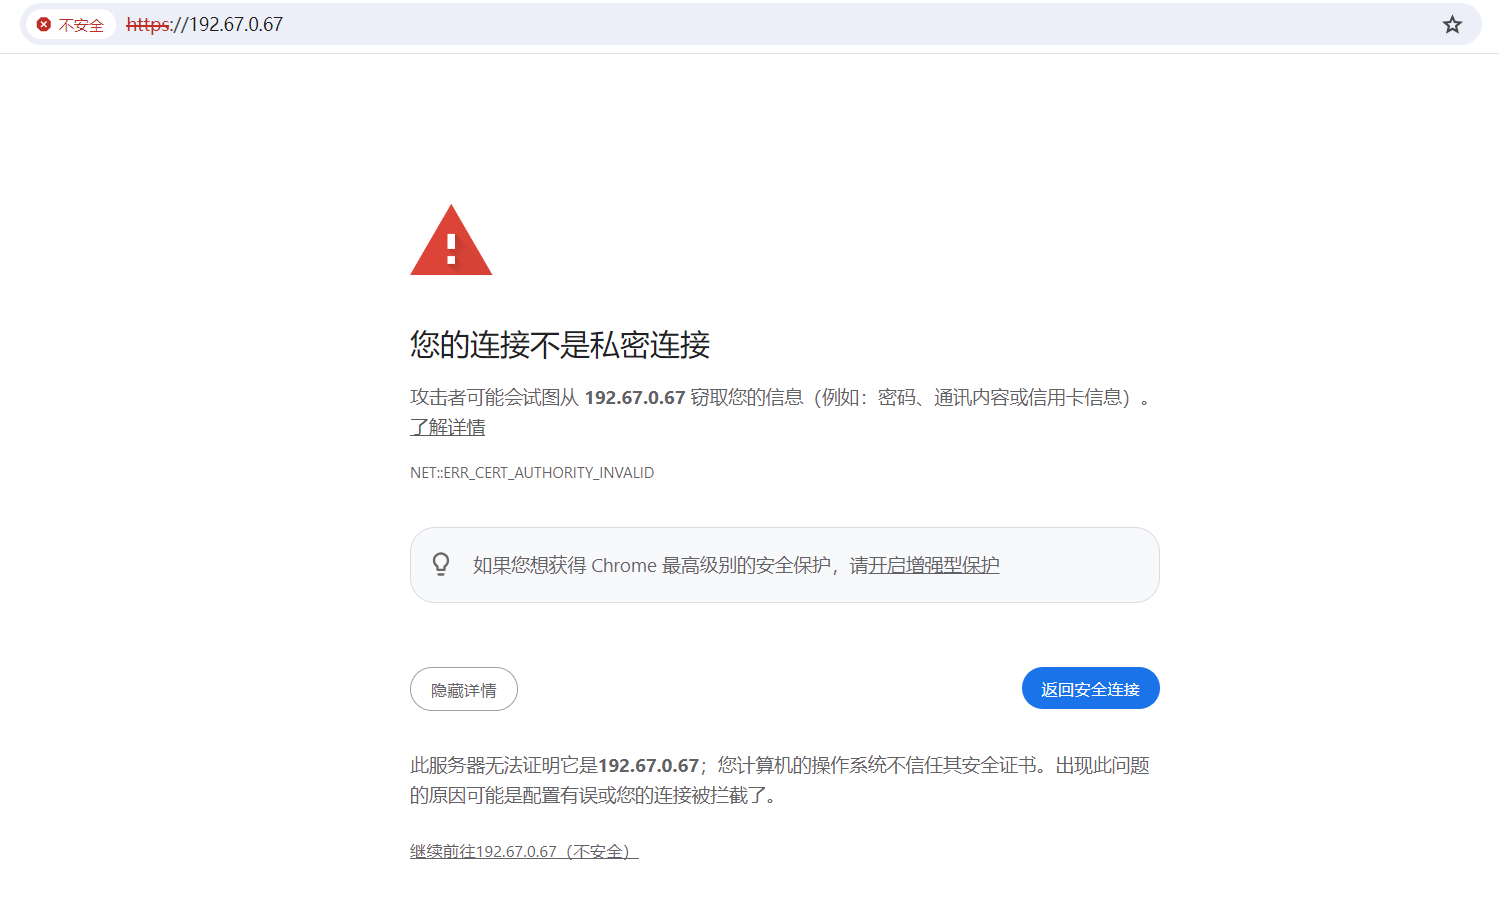
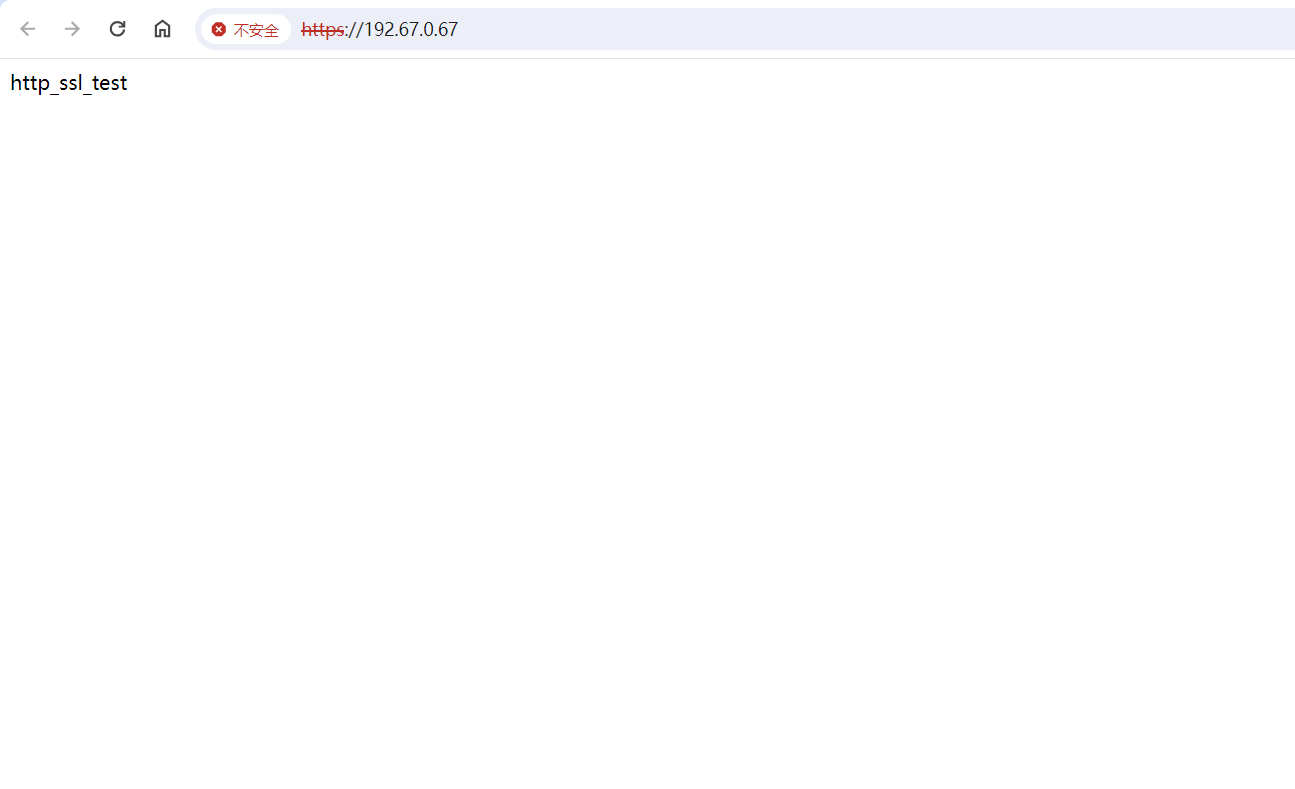
注意:可以将cacert.pem证书发给客户端,实现证书导入。
五、遇到的问题
[root@HLWHOST ssl]# openssl ca -in httpd.csr -out httpd.crt -days 365
Using configuration from /usr/local/openssl-1.1.1q/ssl/openssl.cnf
Can't open ./demoCA/private/cakey.pem for reading, No such file or directory
140473297381184:error:02001002:system library:fopen:No such file or directory:crypto/bi                                                                        o/bss_file.c:69:fopen('./demoCA/private/cakey.pem','r')
140473297381184:error:2006D080:BIO routines:BIO_new_file:no such file:crypto/bio/bss_fi                                                                        le.c:76:
unable to load CA private key
此报错是因为签署的时候找openssl.cnf文件去源码包安装的路径去找了,需要在签署的时候指定一下openssl.cnf的绝对路径。
六、参考页面
https://blog.csdn.net/qq_36801585/article/details/104452338