牛客网
发送邮件
邮箱设置
启用客户端SMTP服务
Spring Email
导入jar包
邮箱参数配置
使用javaMailSender 发送邮件
模板引擎
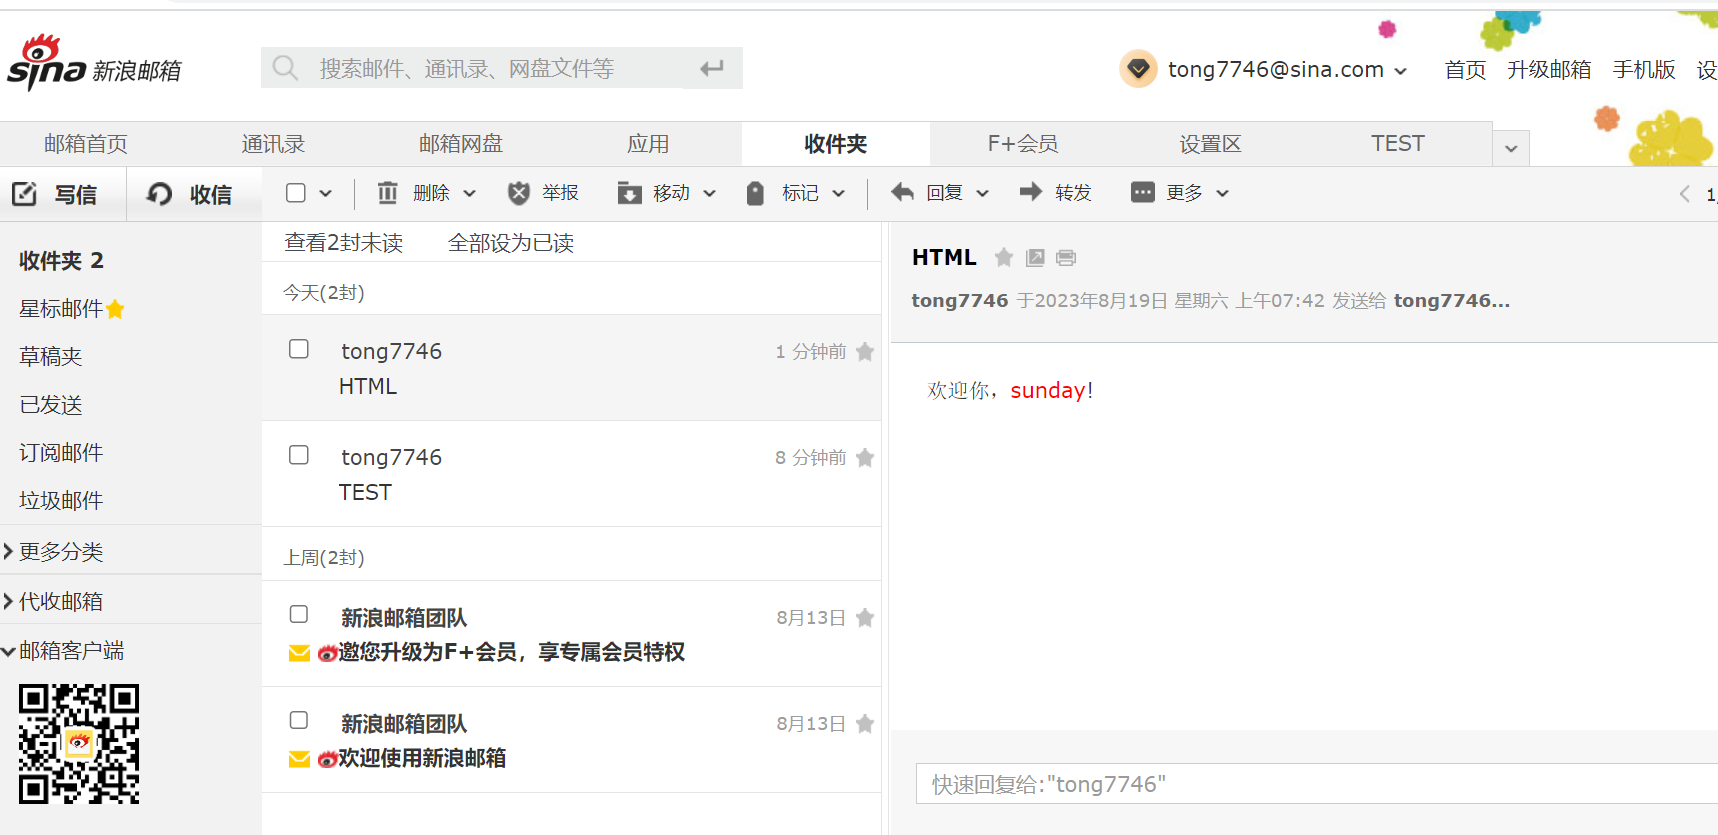
使用Thymeleaf发送HTML邮件
1.新建MailClient类
2.更改配置
#发送邮件
#MialProperties
spring.mail.host=smtp.sina.com
spring.mail.port=465
spring.mail.username=tong7746
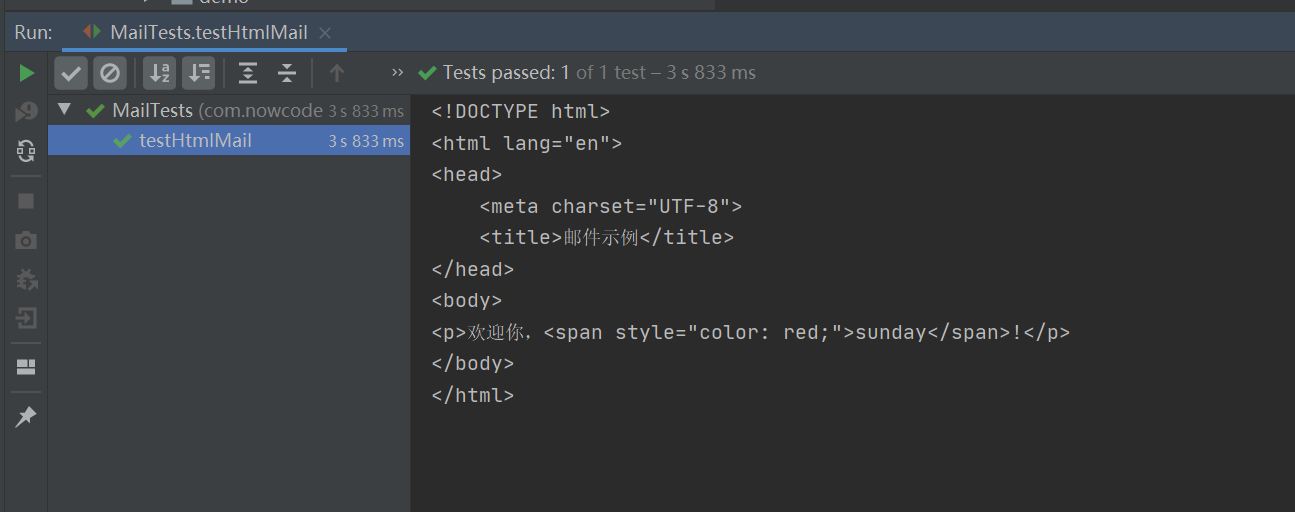
3.新建templates邮件模板
<!DOCTYPE html>
<html lang="en" xmlns:th="http://www.thymeleaf.org">
<head>
    <meta charset="UTF-8">
    <title>邮件示例</title>
</head>
<body>
<p>欢迎你,<span style="color: red;" th:text="${username}"></span>!</p>
</body>
</html>
4.新建测试类Mail Tests
测试结果
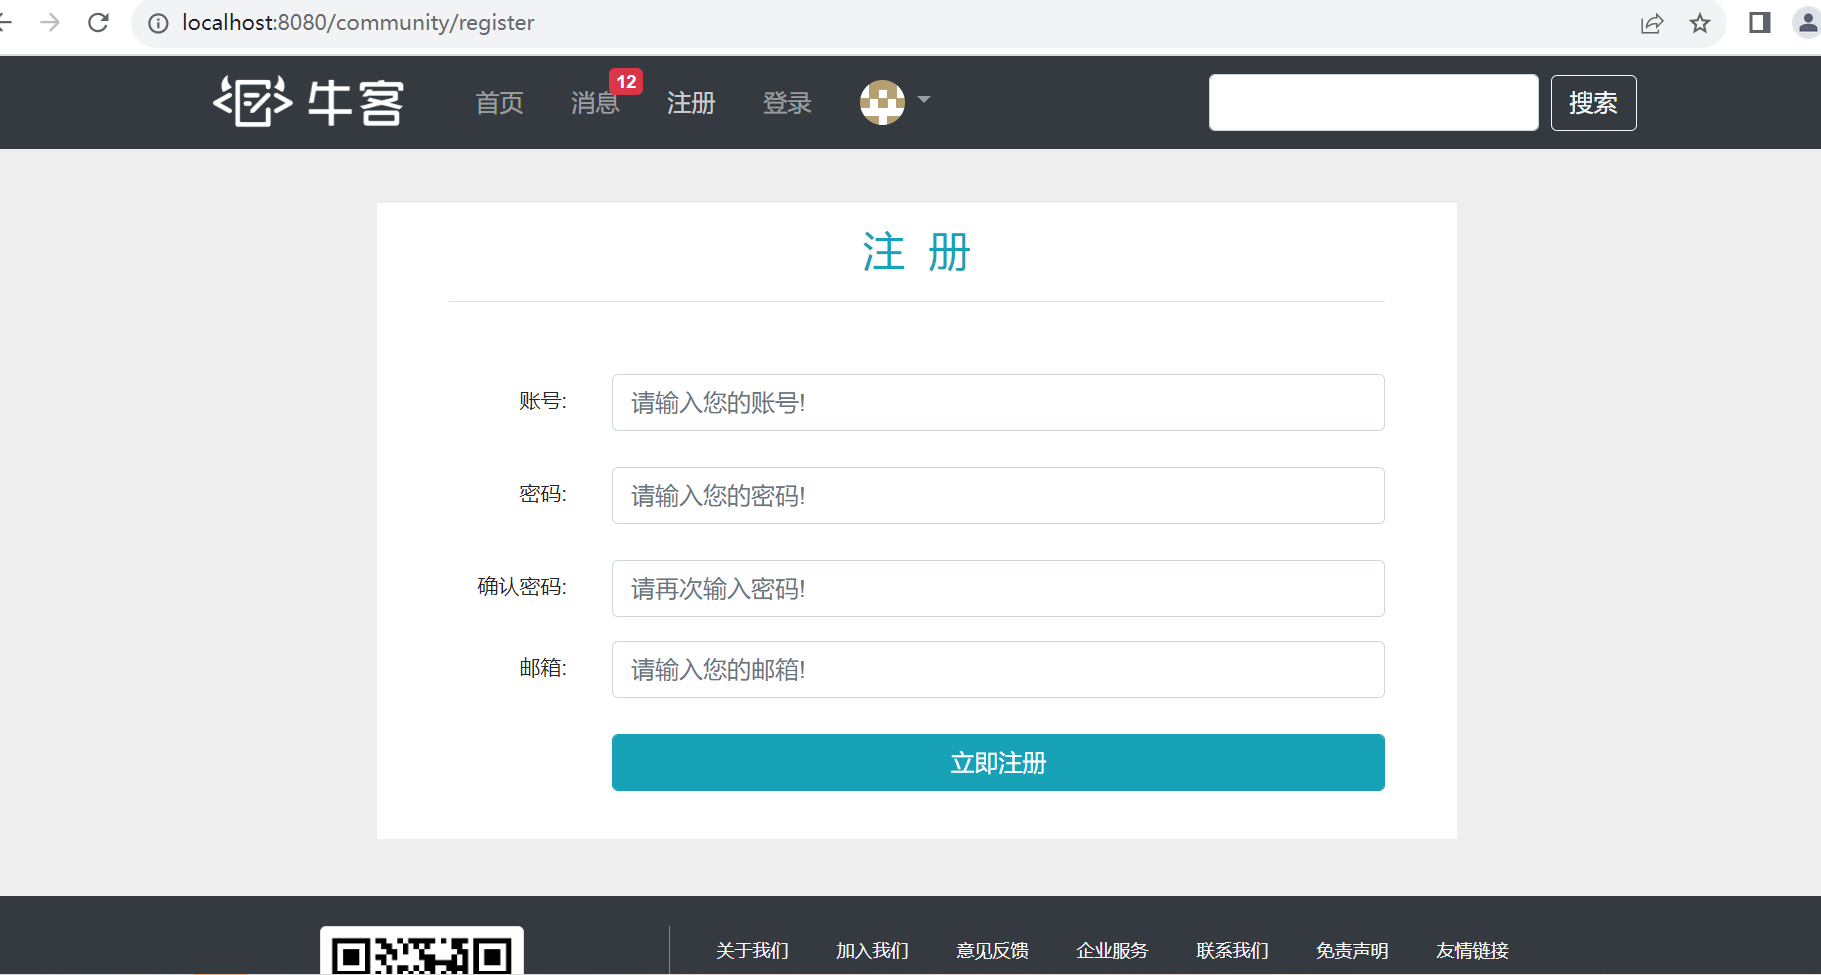
开发注册功能
三层架构:数据访问层 业务层 视图层
访问注册页面
点击顶部区域内链接,打开注册页面
User Service
Login Controller
提交注册数据
-通过表单提交数据。
-服务端验证账号是否已存在,邮箱是否已注册。
-服务端发送激活邮件。
User Service
public Map<String, Object> register(User user) {
Map<String, Object> map = new HashMap<>();
// 空值处理
if (user == null) {
throw new IllegalArgumentException("参数不能为空!");
}
if (StringUtils.isBlank(user.getUsername())) {
map.put("usernameMsg", "账号不能为空!");
return map;
}
if (StringUtils.isBlank(user.getPassword())) {
map.put("passwordMsg", "密码不能为空!");
return map;
}
if (StringUtils.isBlank(user.getEmail())) {
map.put("emailMsg", "邮箱不能为空!");
return map;
}
// 验证账号
User u = userMapper.selectByName(user.getUsername());
if (u != null) {
map.put("usernameMsg", "该账号已存在!");
return map;
}
// 验证邮箱
u = userMapper.selectByEmail(user.getEmail());
if (u != null) {
map.put("emailMsg", "该邮箱已被注册!");
return map;
}
// 注册用户
user.setSalt(CommunityUtil.generateUUID().substring(0, 5));
user.setPassword(CommunityUtil.md5(user.getPassword() + user.getSalt()));
user.setType(0);
user.setStatus(0);
user.setActivationCode(CommunityUtil.generateUUID());
user.setHeaderUrl(String.format("http://images.nowcoder.com/head/%dt.png", new Random().nextInt(1000)));
user.setCreateTime(new Date());
userMapper.insertUser(user);
Login Controller
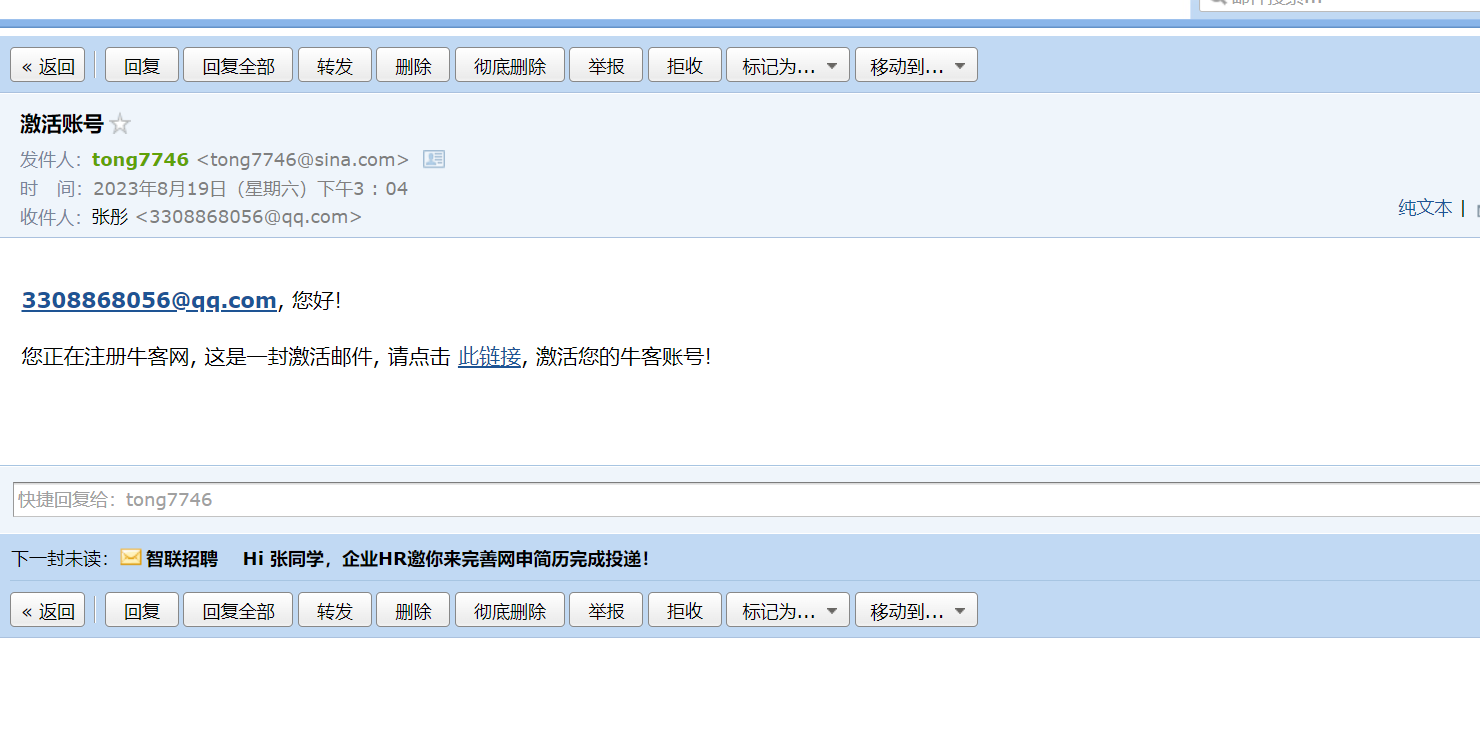
激活注册账号
点击邮件中的链接,访问服务端的激活服务。
User Service
 // 激活邮件
    Context context = new Context();
    context.setVariable("email", user.getEmail());
    // http://localhost:8080/community/activation/101/code
    String url = domain + contextPath + "/activation/" + user.getId() + "/" + user.getActivationCode();
    context.setVariable("url", url);
    String content = templateEngine.process("/mail/activation", context);
    mailClient.sendMail(user.getEmail(), "激活账号", content);

    return map;
}
    //激活账号
public int activation(int userId, String code) {
    User user = userMapper.selectById(userId);
    if (user.getStatus() == 1) {
        return ACTIVATION_REPEAT;
    } else if (user.getActivationCode().equals(code)) {
        userMapper.updateStatus(userId, 1);
        return ACTIVATION_SUCCESS;
    } else {
        return ACTIVATION_FAILURE;
    }
}
Login Controller
// http://localhost:8080/community/activation/101/code
@RequestMapping(path = "/activation/{userId}/{code}", method = RequestMethod.GET)
public String activation(Model model, @PathVariable("userId") int userId, @PathVariable("code") String code) {
int result = userService.activation(userId, code);
if (result == ACTIVATION_SUCCESS) {
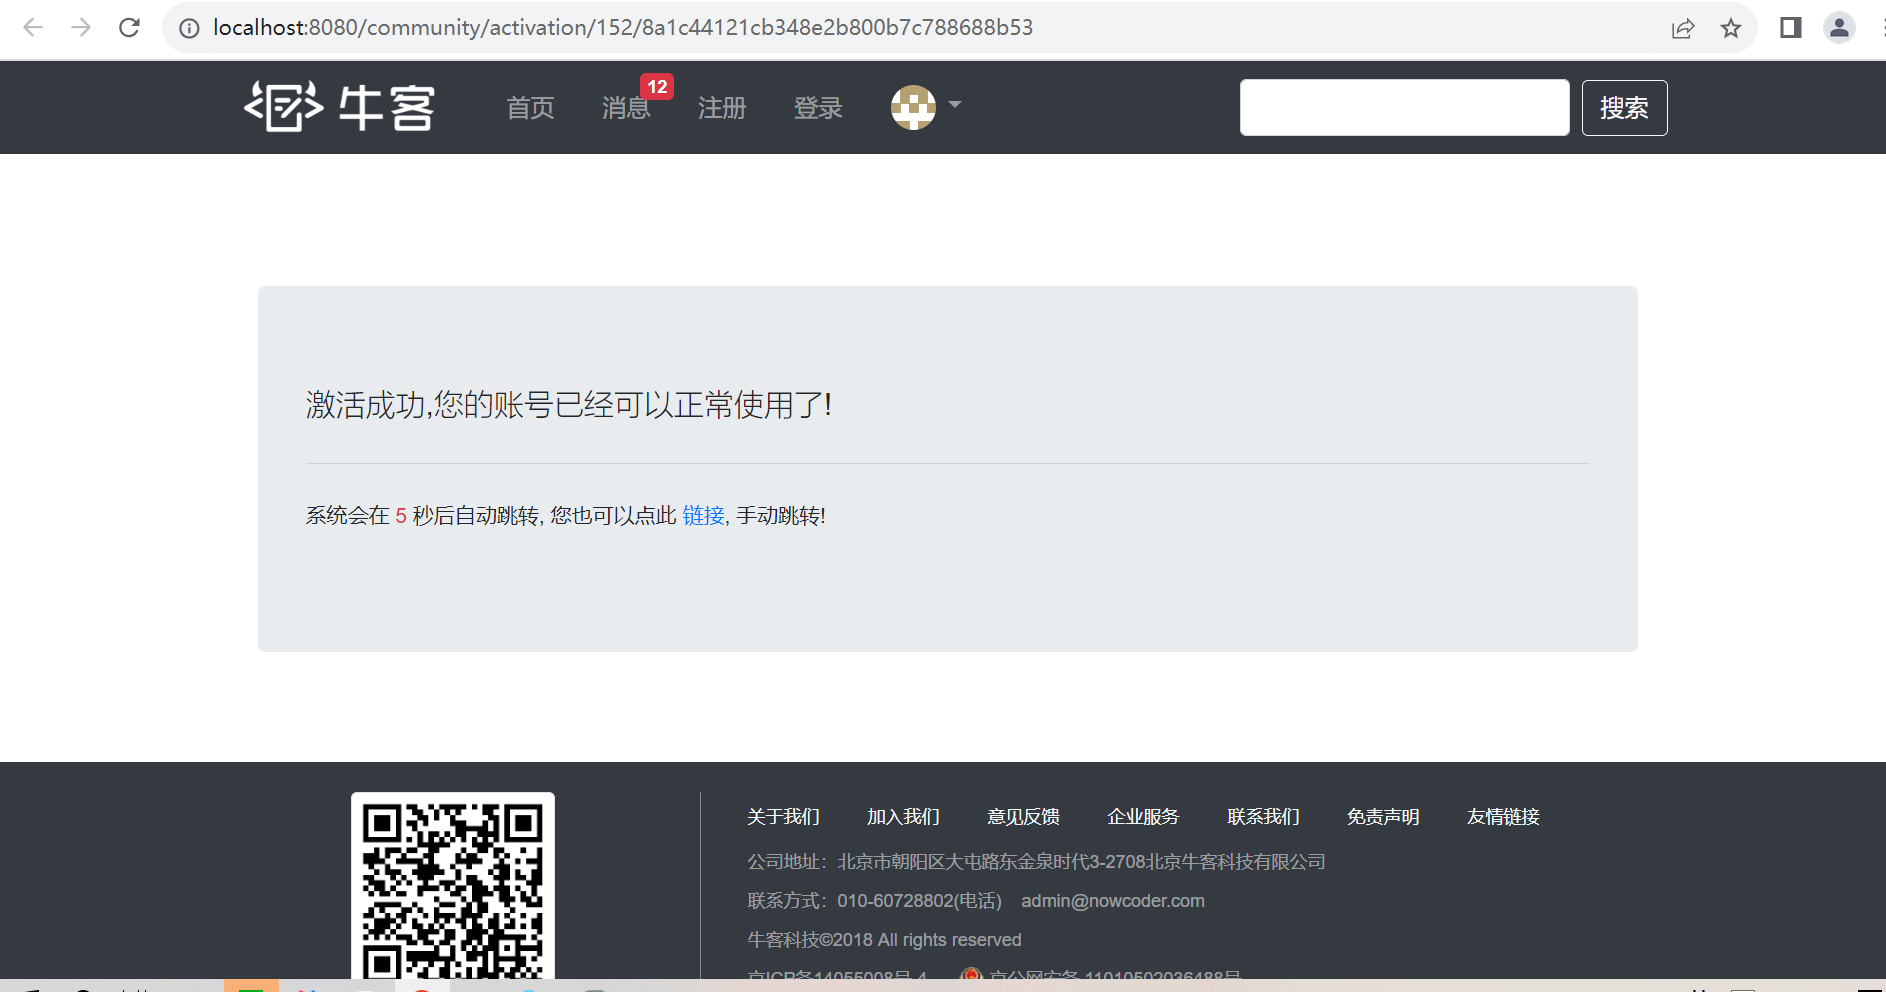
model.addAttribute("msg", "激活成功,您的账号已经可以正常使用了!");
model.addAttribute("target", "/login");
} else if (result == ACTIVATION_REPEAT) {
model.addAttribute("msg", "无效操作,该账号已经激活过了!");
model.addAttribute("target", "/index");
} else {
model.addAttribute("msg", "激活失败,您提供的激活码不正确!");
model.addAttribute("target", "/index");
}
return "/site/operate-result";
}
新建CommunityConstant接口
public interface CommunityConstant {
//    激活成功
     int ACTIVATION_SUCCESS= 0;

     //重复激活
    int ACTIVATION_REPEAT =1;
    //激活失败
    int ACTIVATION_FAILURE = 2;
}
测试结果

会话管理
Http的基本性质
Http是简单的
Http是可扩展的
Http是无状态的,有会话的
Cookie
是服务器发送到浏览器,并保存在浏览器的一小块数据。
浏览器下次访问该服务器时,会自动携带酷块该数据,将其发送给服务器。
Cookie可以创建有状态的会话。
Session
是JavaEE的标准,用于在服务端记录客户信息。
数据存放在服务器端更安全,但是也会增加服务端的内存压力。
//cookie示例
@RequestMapping(path = "/cookie/set",method = RequestMethod.GET)
@ResponseBody
public String setCookie(HttpServletResponse response){
    //创建cookie
    Cookie cookie = new Cookie("code", CommunityUtil.generateUUID());//随机生成字符串
    //设置cookie生效范围
    cookie.setPath("/community/alpha");
    //设置cookie存储时间
    response.addCookie(cookie);
    return "set cookie";
}
@RequestMapping(path = "/cookie/set",method = RequestMethod.GET)
@ResponseBody
public String getCookie(@CookieValue("code") String code){
    System.out.println(code);
    return "get cookie";
}
cookie不安全性高
访问服务器增加数据量,对流量性能产生影响
Session依赖cookie
// session示例
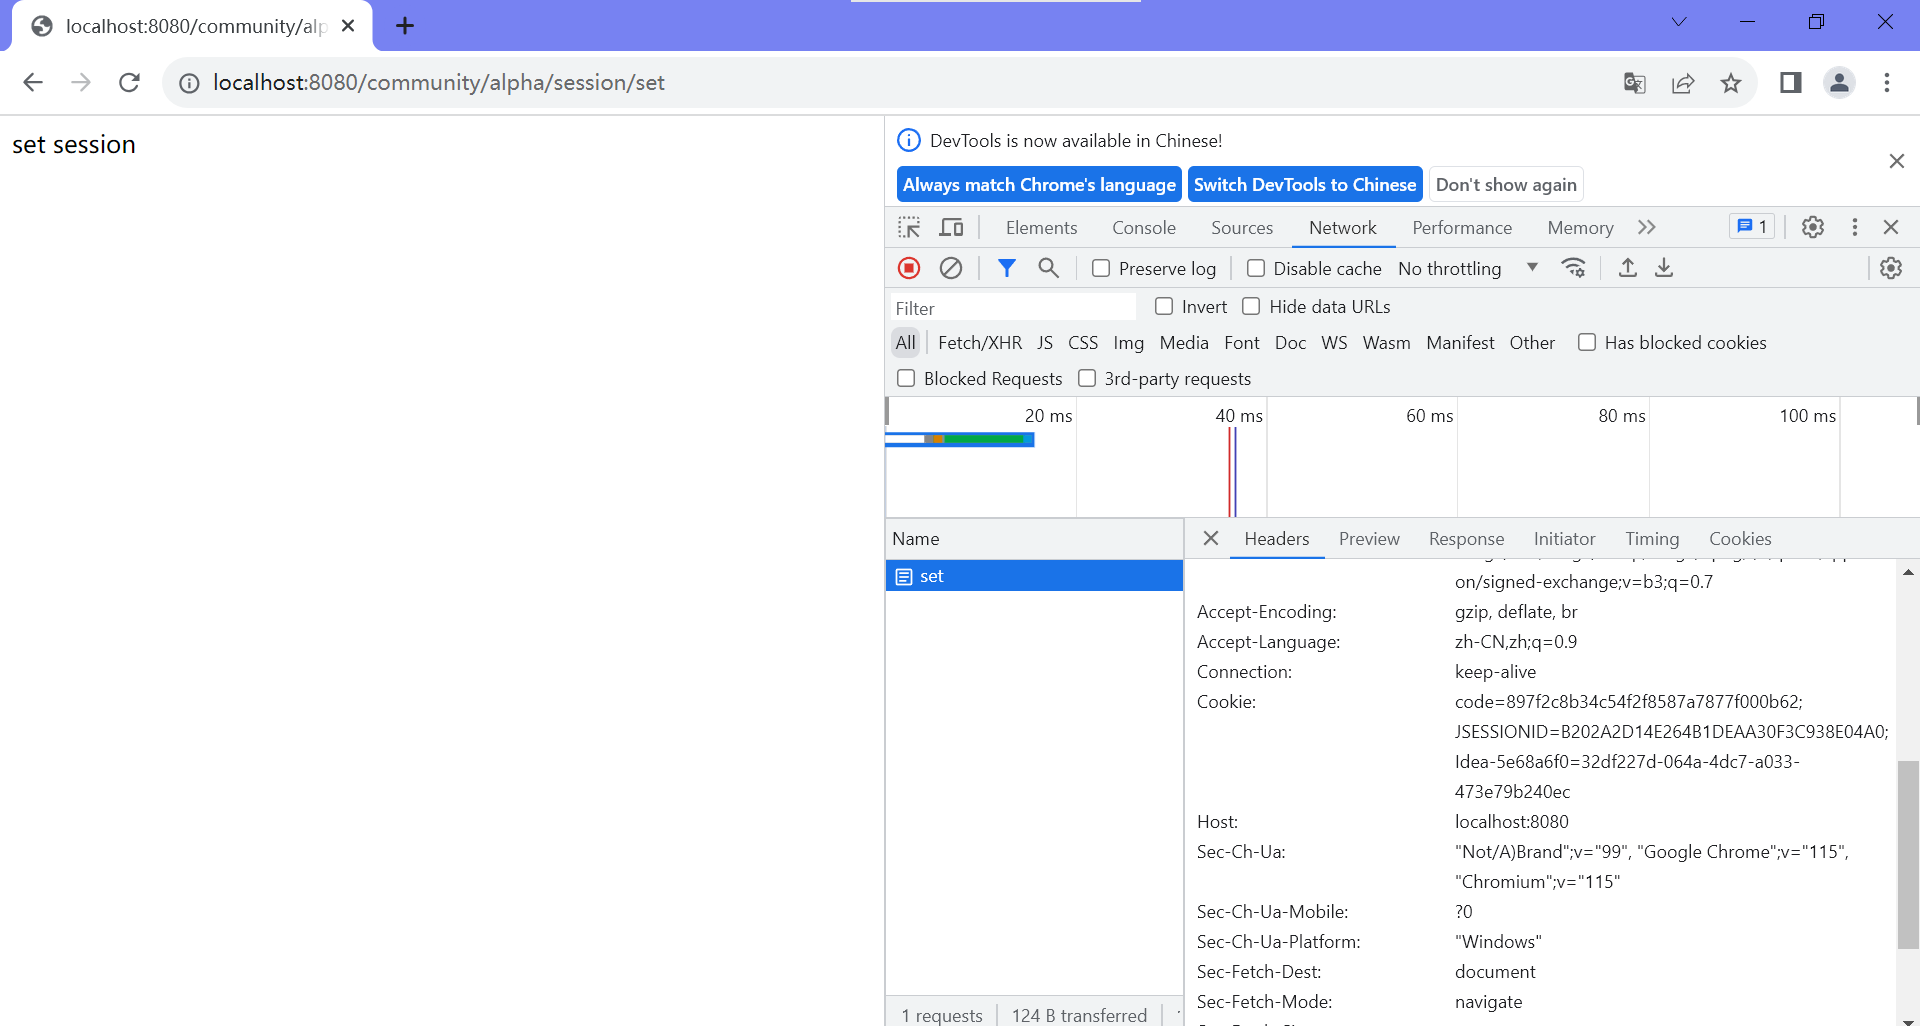
@RequestMapping(path = "/session/set", method = RequestMethod.GET)
@ResponseBody
public String setSession(HttpSession session) {
//可以存取大量数据
session.setAttribute("id", 1);
session.setAttribute("name", "Test");
return "set session";
}
@RequestMapping(path = "/session/get", method = RequestMethod.GET)
@ResponseBody
public String getSession(HttpSession session) {
System.out.println(session.getAttribute("id"));
System.out.println(session.getAttribute("name"));
return "get session";
}
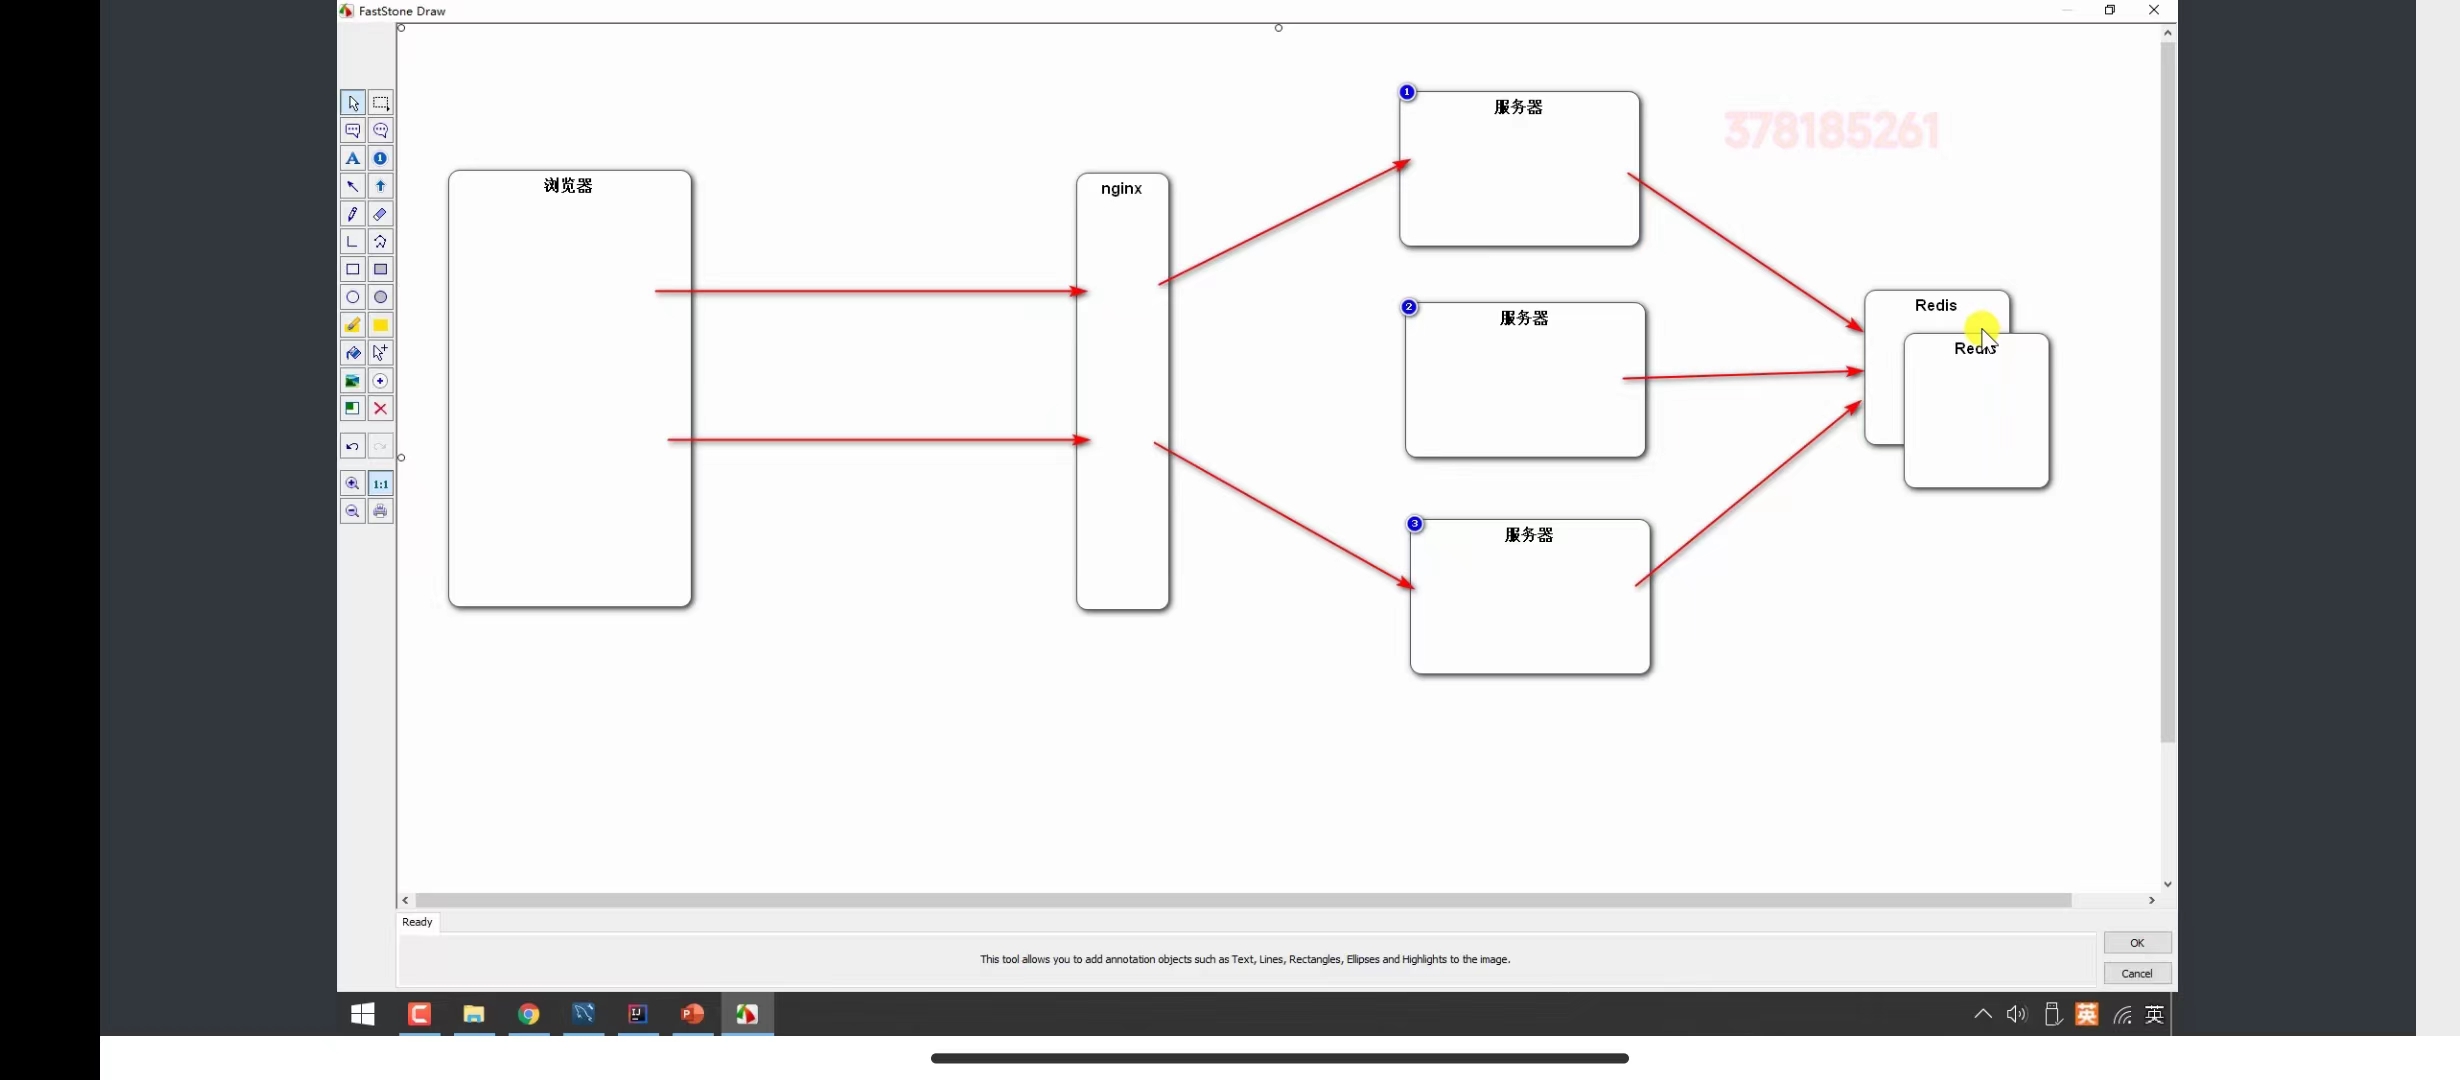
同步session
共享session
生成验证码
Kaptcha
导入jar包
<dependency> <groupId>com.github.penggle</groupId> <artifactId>kaptcha</artifactId> <version>2.3.2</version> </dependency>
编写Kaptcha 配置类
生成随机字符,生成图片
官方路径: (FQ)
@Configuration
public class KaptchaConfig {

    @Bean
    public Producer kaptchaProducer() {
        //配置
        Properties properties = new Properties();
        properties.setProperty("kaptcha.image.width", "100");
        properties.setProperty("kaptcha.image.height", "40");
        properties.setProperty("kaptcha.textproducer.font.size", "32");
        properties.setProperty("kaptcha.textproducer.font.color", "0,0,0");
        //生成随机码
        properties.setProperty("kaptcha.textproducer.char.string", "0123456789ABCDEFGHIJKLMNOPQRSTUVWXYAZ");
        //长度限定
        properties.setProperty("kaptcha.textproducer.char.length", "4");
        //生成图片上的干扰
        properties.setProperty("kaptcha.noise.impl", "com.google.code.kaptcha.impl.NoNoise");

        DefaultKaptcha kaptcha = new DefaultKaptcha();
        Config config = new Config(properties);
        kaptcha.setConfig(config);
        return kaptcha;
    }
LoginController
//声明日志
private static final Logger logger = LoggerFactory.getLogger(LoginController.class);

@Autowired
private UserService userService;

//声明验证码
@Autowired
private Producer kaptchaProducer;
 //验证码
@RequestMapping(path = "/kaptcha", method = RequestMethod.GET)
public void getKaptcha(HttpServletResponse response, HttpSession session) {
    // 生成验证码
    String text = kaptchaProducer.createText();
    BufferedImage image = kaptchaProducer.createImage(text);

    // 将验证码存入session
    session.setAttribute("kaptcha", text);

    // 将突图片输出给浏览器
    response.setContentType("image/png");
    try {
        OutputStream os = response.getOutputStream();
        ImageIO.write(image, "png", os);
    } catch (IOException e) {
        //日志
        logger.error("响应验证码失败:" + e.getMessage());
    }
}